How to Properly Transcribe an Interview Without Uploading the Recording
A practical local workflow for turning an interview recording into a checked transcript: choose a transcript style, transcribe on-device, fix jargon once, and verify quotes against synced audio.
 Martijn Smit
8 min read
How to properly transcribe an interview without uploading the recording
When deciding how to properly transcribe an interview, choose a transcript style that fits its purpose, then create a local draft and verify quotations against the audio. A fluent sentence can still contain the wrong name, a missing “not,” or a number the interviewee never said.
For confidential interviews with usable audio, use a local AI draft plus human verification rather than uploading the recording to a cloud service or transcribing from scratch. Plan a heavier manual pass when audio is poor or research requires every speech detail. This workflow uses MeetingDebrief to process an existing phone or recorder file locally. Its Upload audio file control imports the recording for on-device processing; it does not send it to a server.
Decide the transcript style and review depth before you start
Write the use case at the top of your working document: publication, archival review, research analysis, or internal reference. Follow any research protocol, editorial standard, or archive requirement before choosing your own conventions.
| Style | What to preserve | When to choose it |
|---|---|---|
| Verbatim | Filler words, repetitions, false starts, and relevant speech events | Research examining how people speak, or archival work requiring that detail |
| Intelligent verbatim | The speaker’s wording and meaning, without nonessential fillers and abandoned starts | Readable interview records and publication preparation where speech patterns are not the subject |
| Edited | Reworked grammar or sentence structure | Internal reference or a clearly labeled reading version, not word-for-word quotations |
“I, um, I didn’t approve it” becomes “I didn’t approve it” in intelligent verbatim. Keep hesitation when it matters to the analysis. Punctuation should clarify what you hear without changing the claim or turning an unfinished thought into a definite statement.
Set a compact style sheet. You might use [pause], [laughs], [overlap] for simultaneous speech, and [interrupted] where another speaker cuts in. Mark unrecoverable words as [inaudible 12:34] and uncertain attribution as [speaker uncertain]. These are working conventions, not universal notation. Apply them consistently; never fill a gap from context alone.
Decide whether you need the whole interview or selected passages. For excerpts, record start and end timestamps and retain enough surrounding discussion to preserve qualifications.
Import the file locally and let transcription run on the device
Copy the recording to your computer, using a cable if you want to avoid cloud storage during transfer. Keep the original unchanged, separate from the transcription session. Before importing, check the audio-retention settings described below so session audio remains available for verification.
- In MeetingDebrief, go to Sidebar → Upload audio file, next to Start Recording.
- Choose your recording. Supported formats are WAV, MP3, M4A, OGG, FLAC, MP4, and AAC.
- Wait for the new session. The file is converted automatically, and transcription starts if Auto-transcribe after recording is on.
That setting is on by default under Settings → General → Auto-transcribe after recording. If it is off, open the imported session and click Transcribe. You can keep working while transcription runs in the background.
Models are downloaded once during setup, after which transcription can run offline. Audio, transcripts, and generated summaries stay on the device. The local-processing details explain the architecture.
Choose Parakeet or Whisper based on language coverage
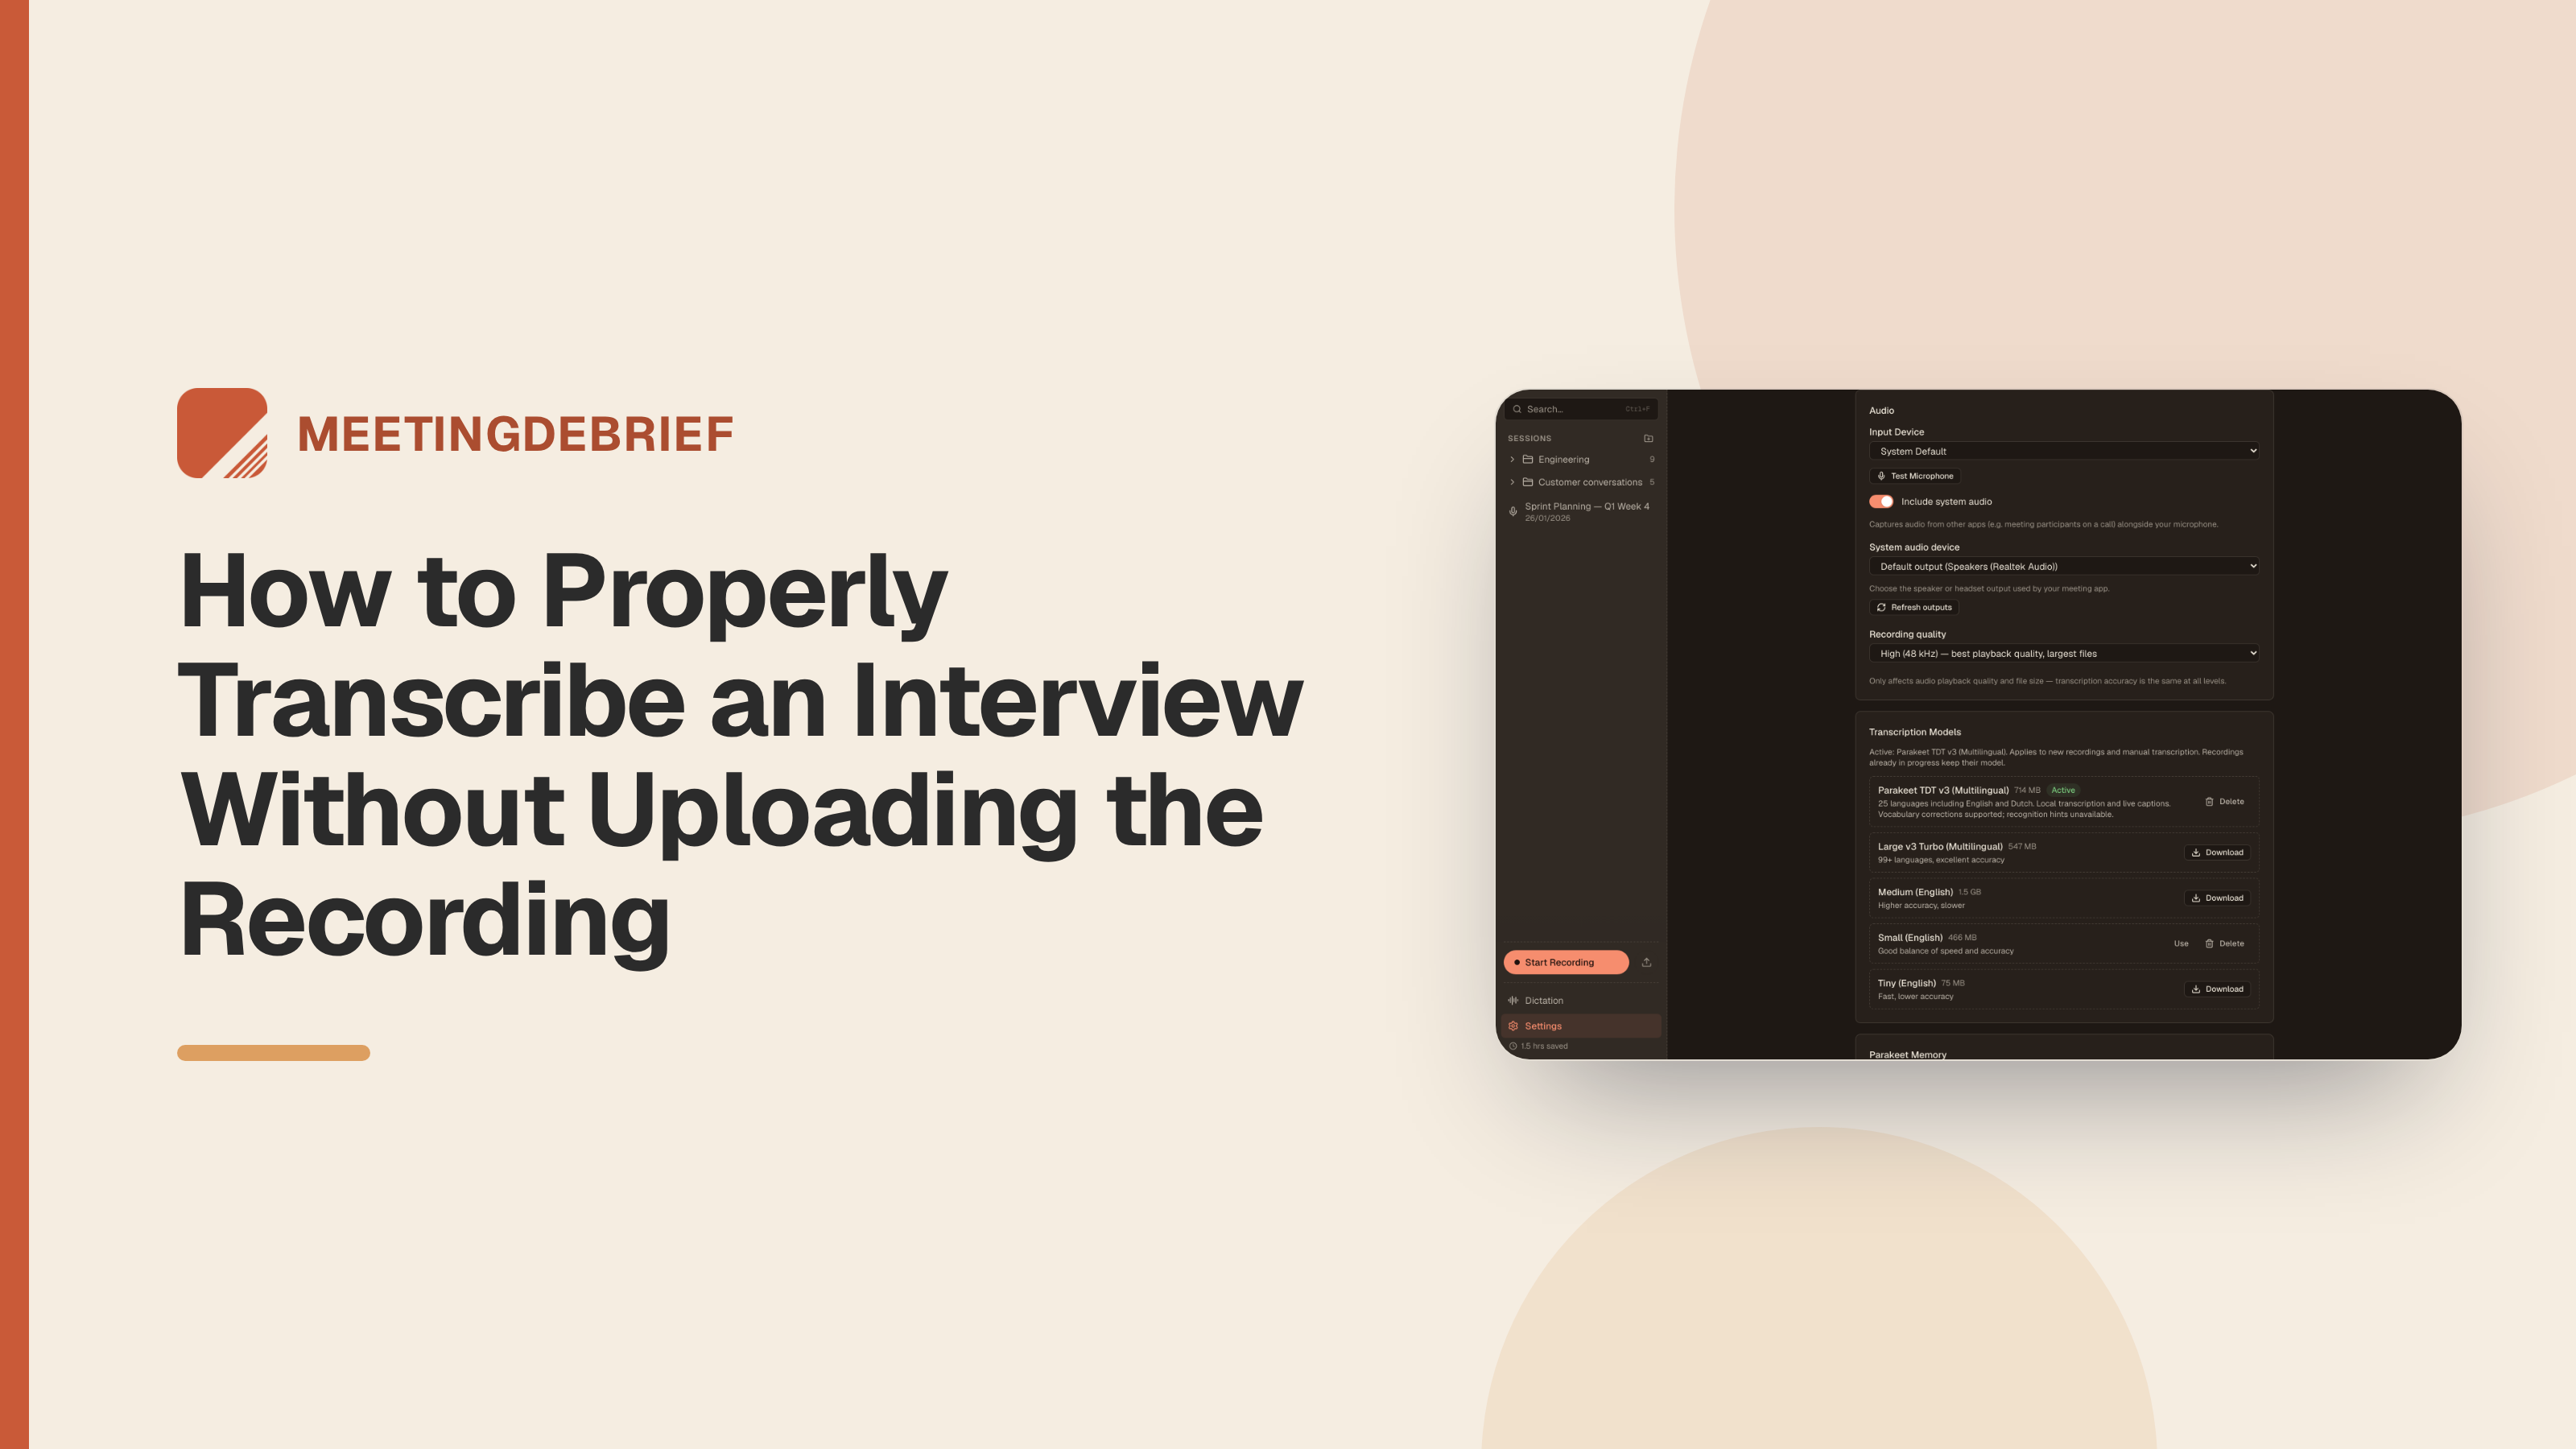
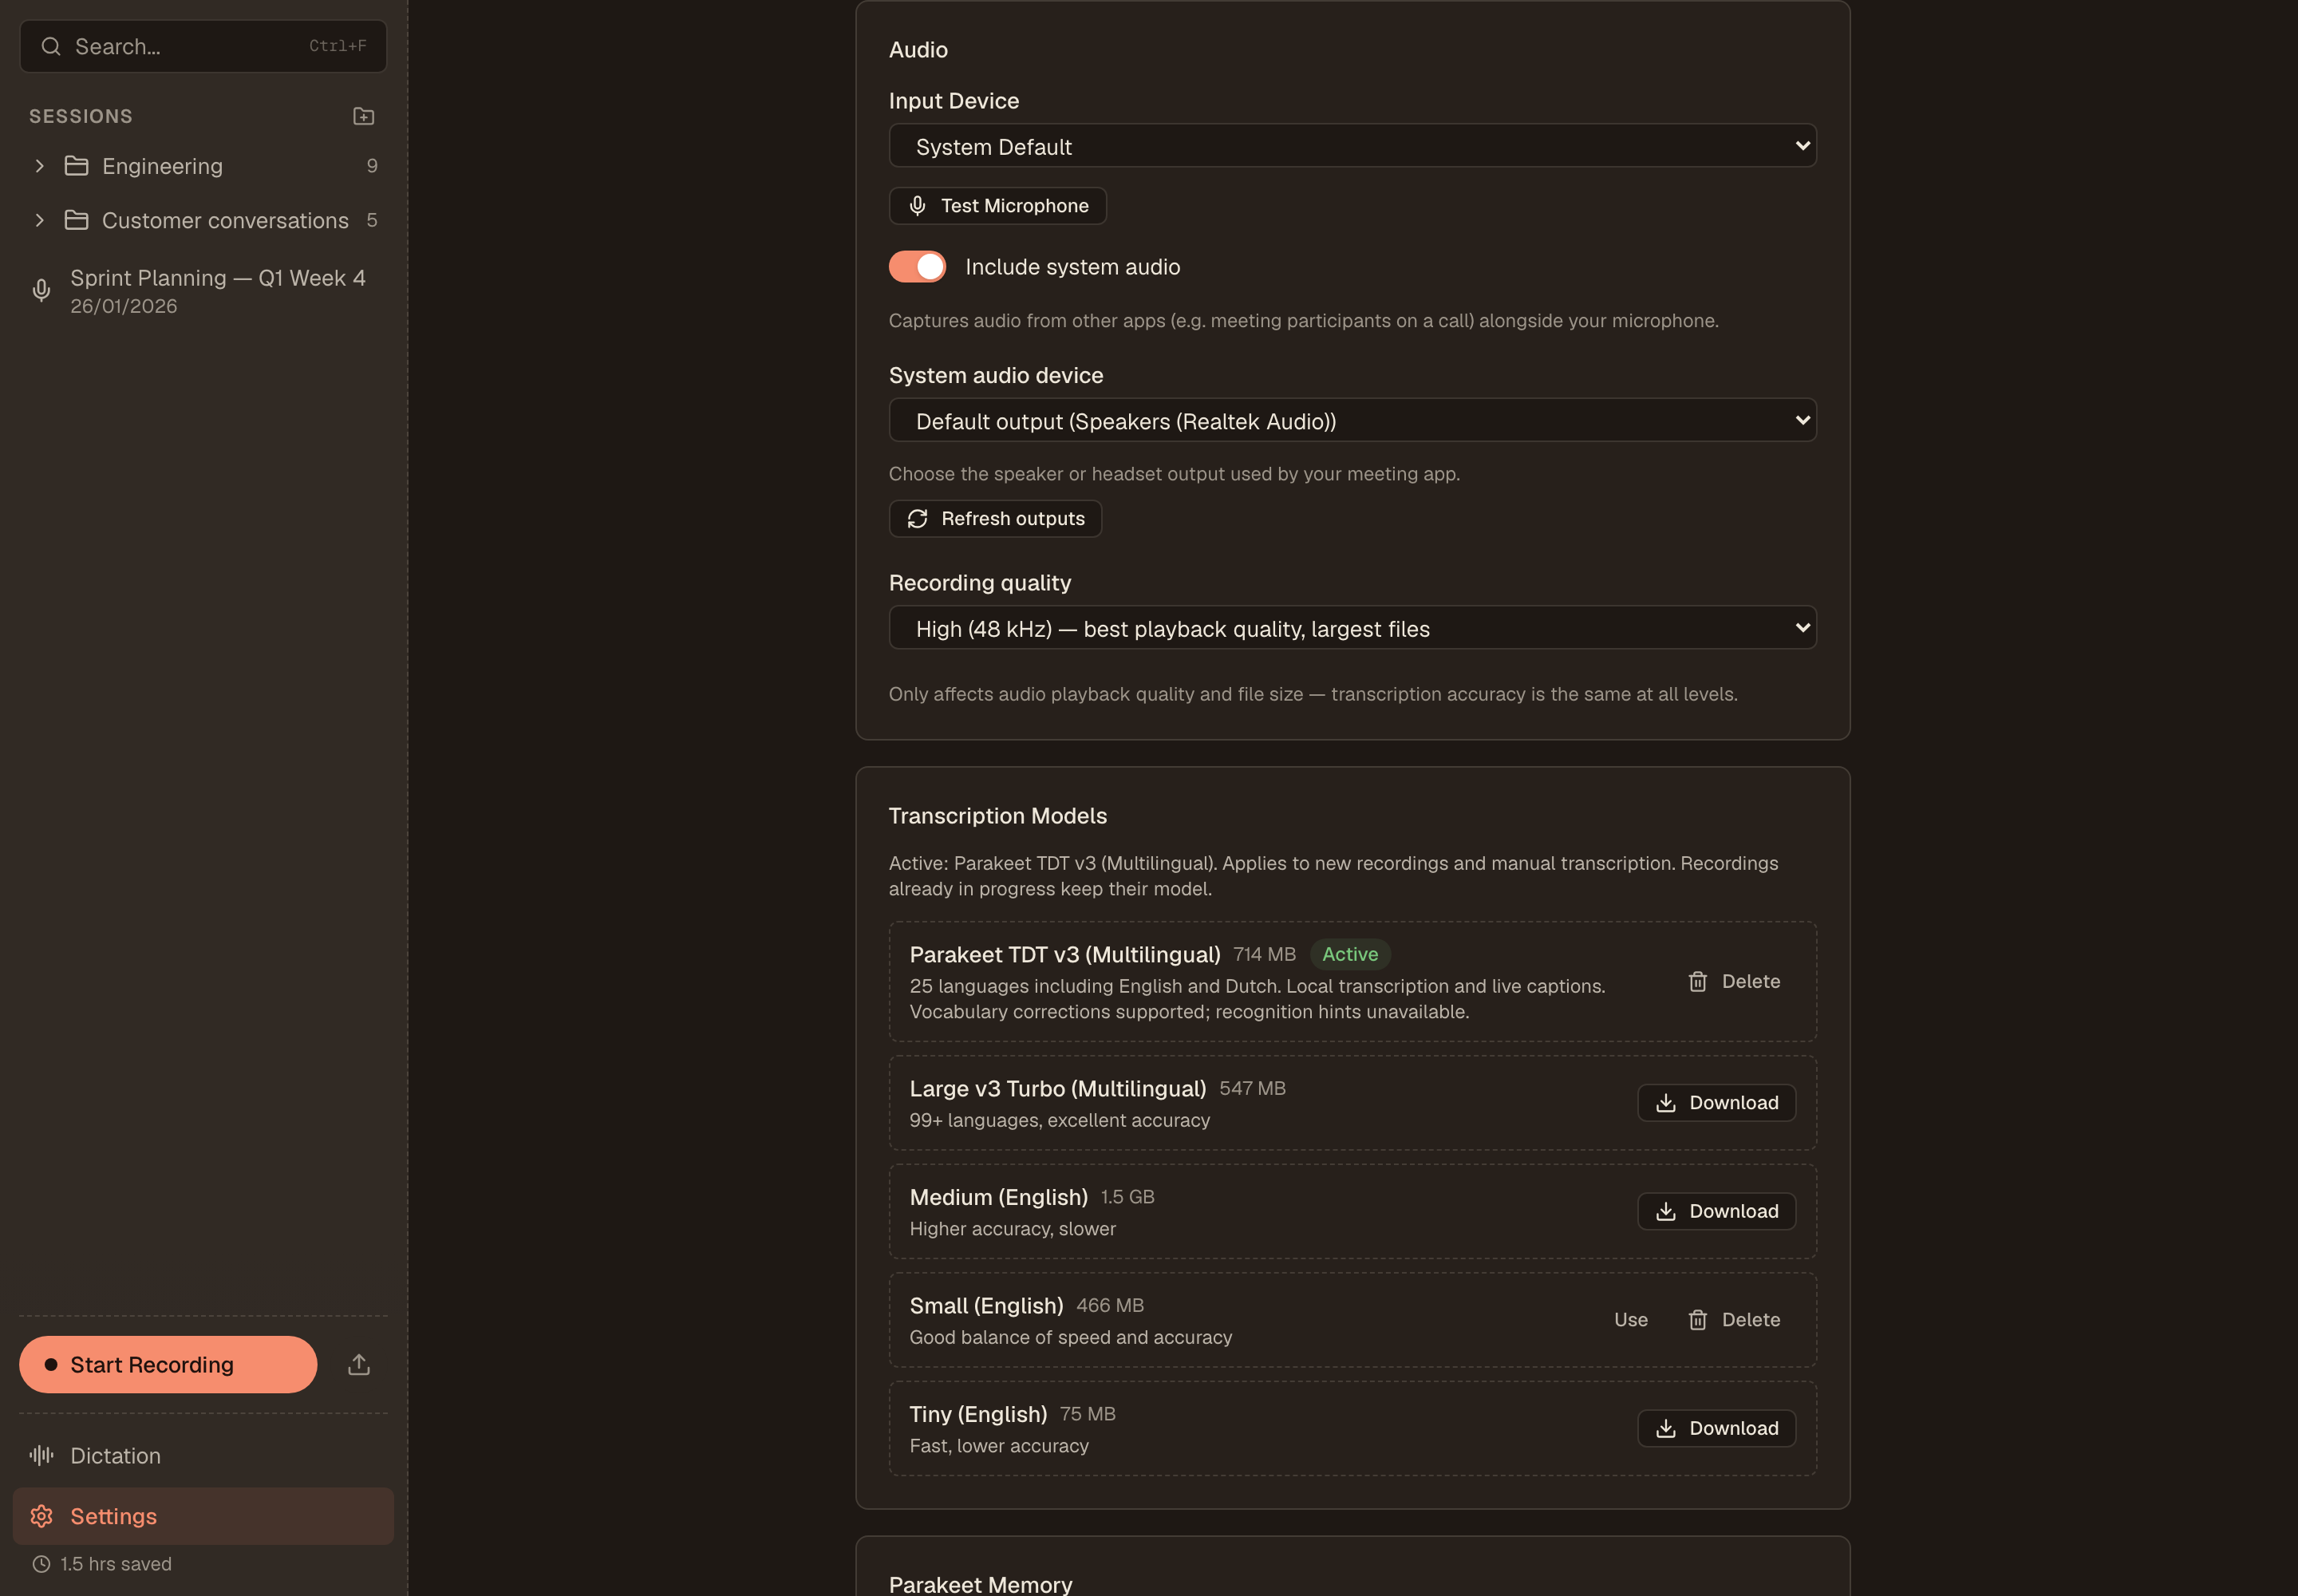
Parakeet TDT v3 (Multilingual) is MeetingDebrief’s recommended default, covering 25 languages, including English and Dutch. Use it when your interview language is supported; choose Large v3 Turbo (Multilingual), the Whisper model covering 99+ languages, when you need broader coverage or pre-recognition vocabulary hints for names and technical terms, even in English.
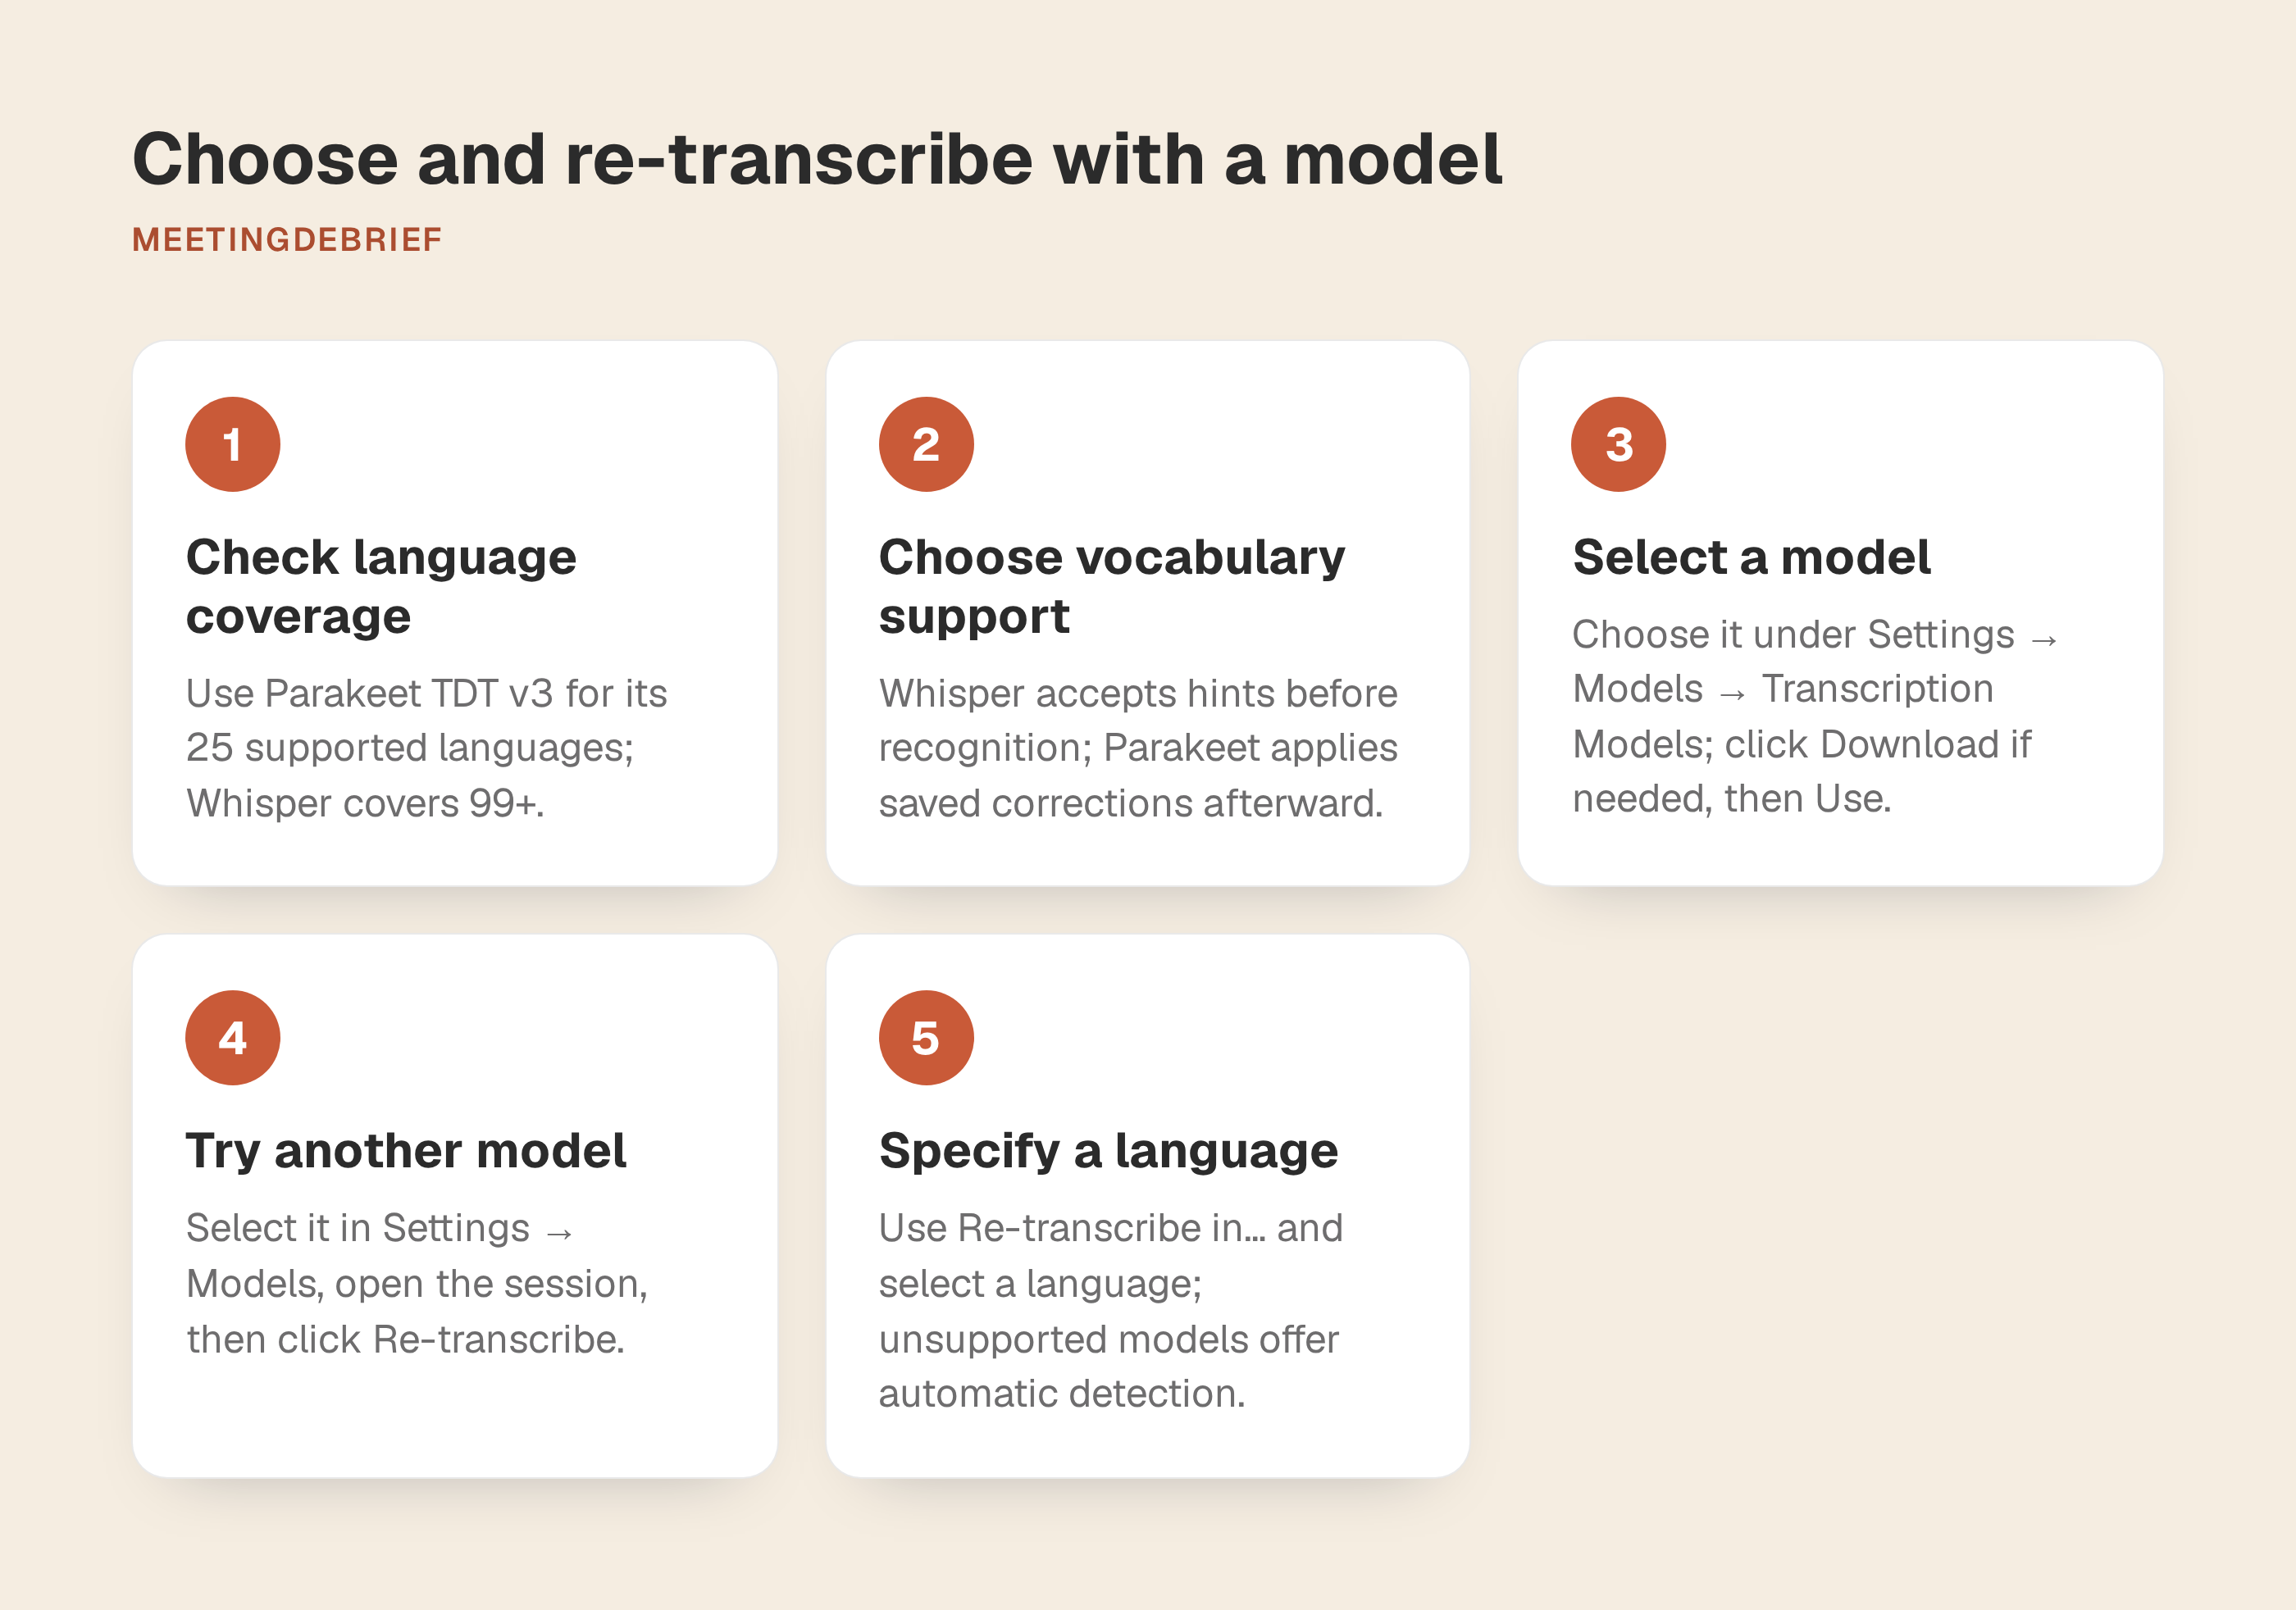
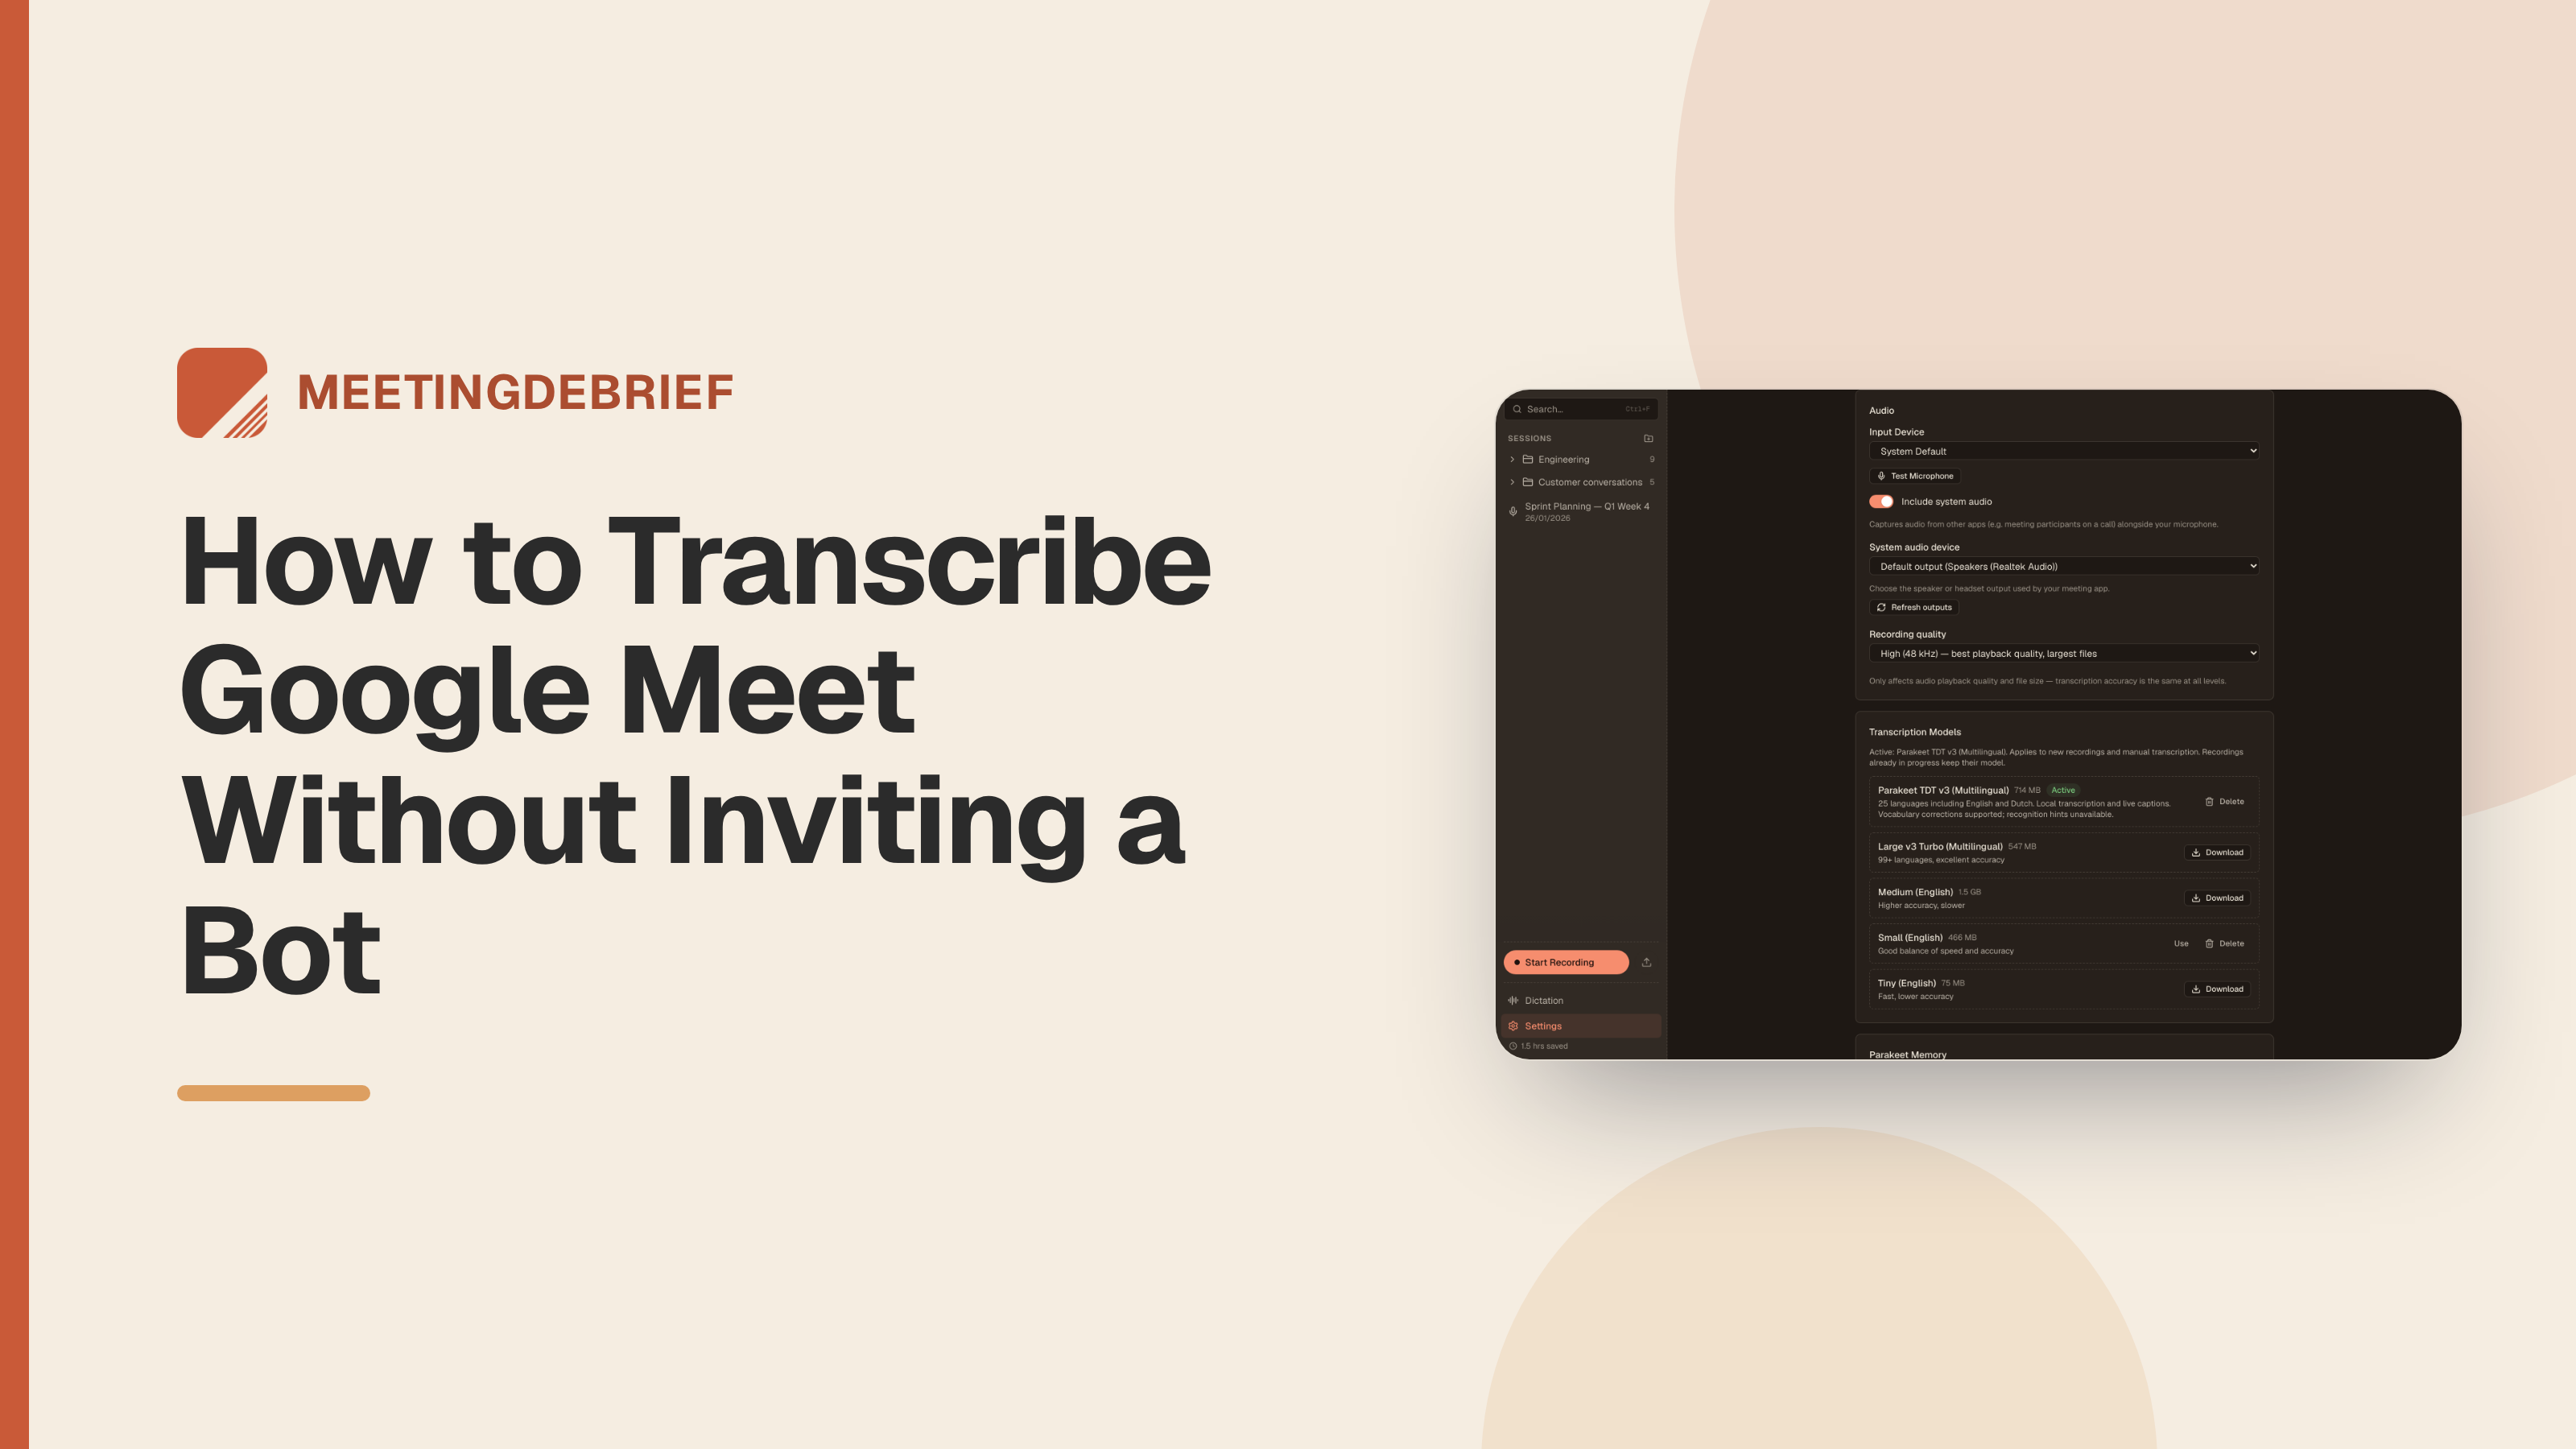
Select the model under Settings → Models → Transcription Models. Click Download if needed, then Use to make it active. Several models can be installed at once.
Specialist vocabulary also affects the choice. Whisper accepts vocabulary hints before recognition. Parakeet applies saved vocabulary corrections afterward. Use Whisper if you want to supply names or technical terms before recognition; neither approach guarantees correct wording.
For a weak draft or incorrect language detection:
- Check the detected language in the session header, next to the date and duration.
- To try another model, select it in Settings → Models, then open the session and click Re-transcribe. This uses the active model and automatic language detection.
- To specify the language, click the caret on Re-transcribe, open Re-transcribe in…, then search for and select the language. If the model cannot force a language, the menu offers automatic detection instead.
Re-transcribing replaces the transcript, so finish model comparisons before detailed cleanup. Summaries based on the previous version are flagged as out of date.
Teach recurring jargon once, then reuse the correction
Use Settings → Vocabulary to save recurring names and specialist terms. Each entry stores a correct spelling, a meaning for summaries and chat, and mishearings to replace in transcripts.
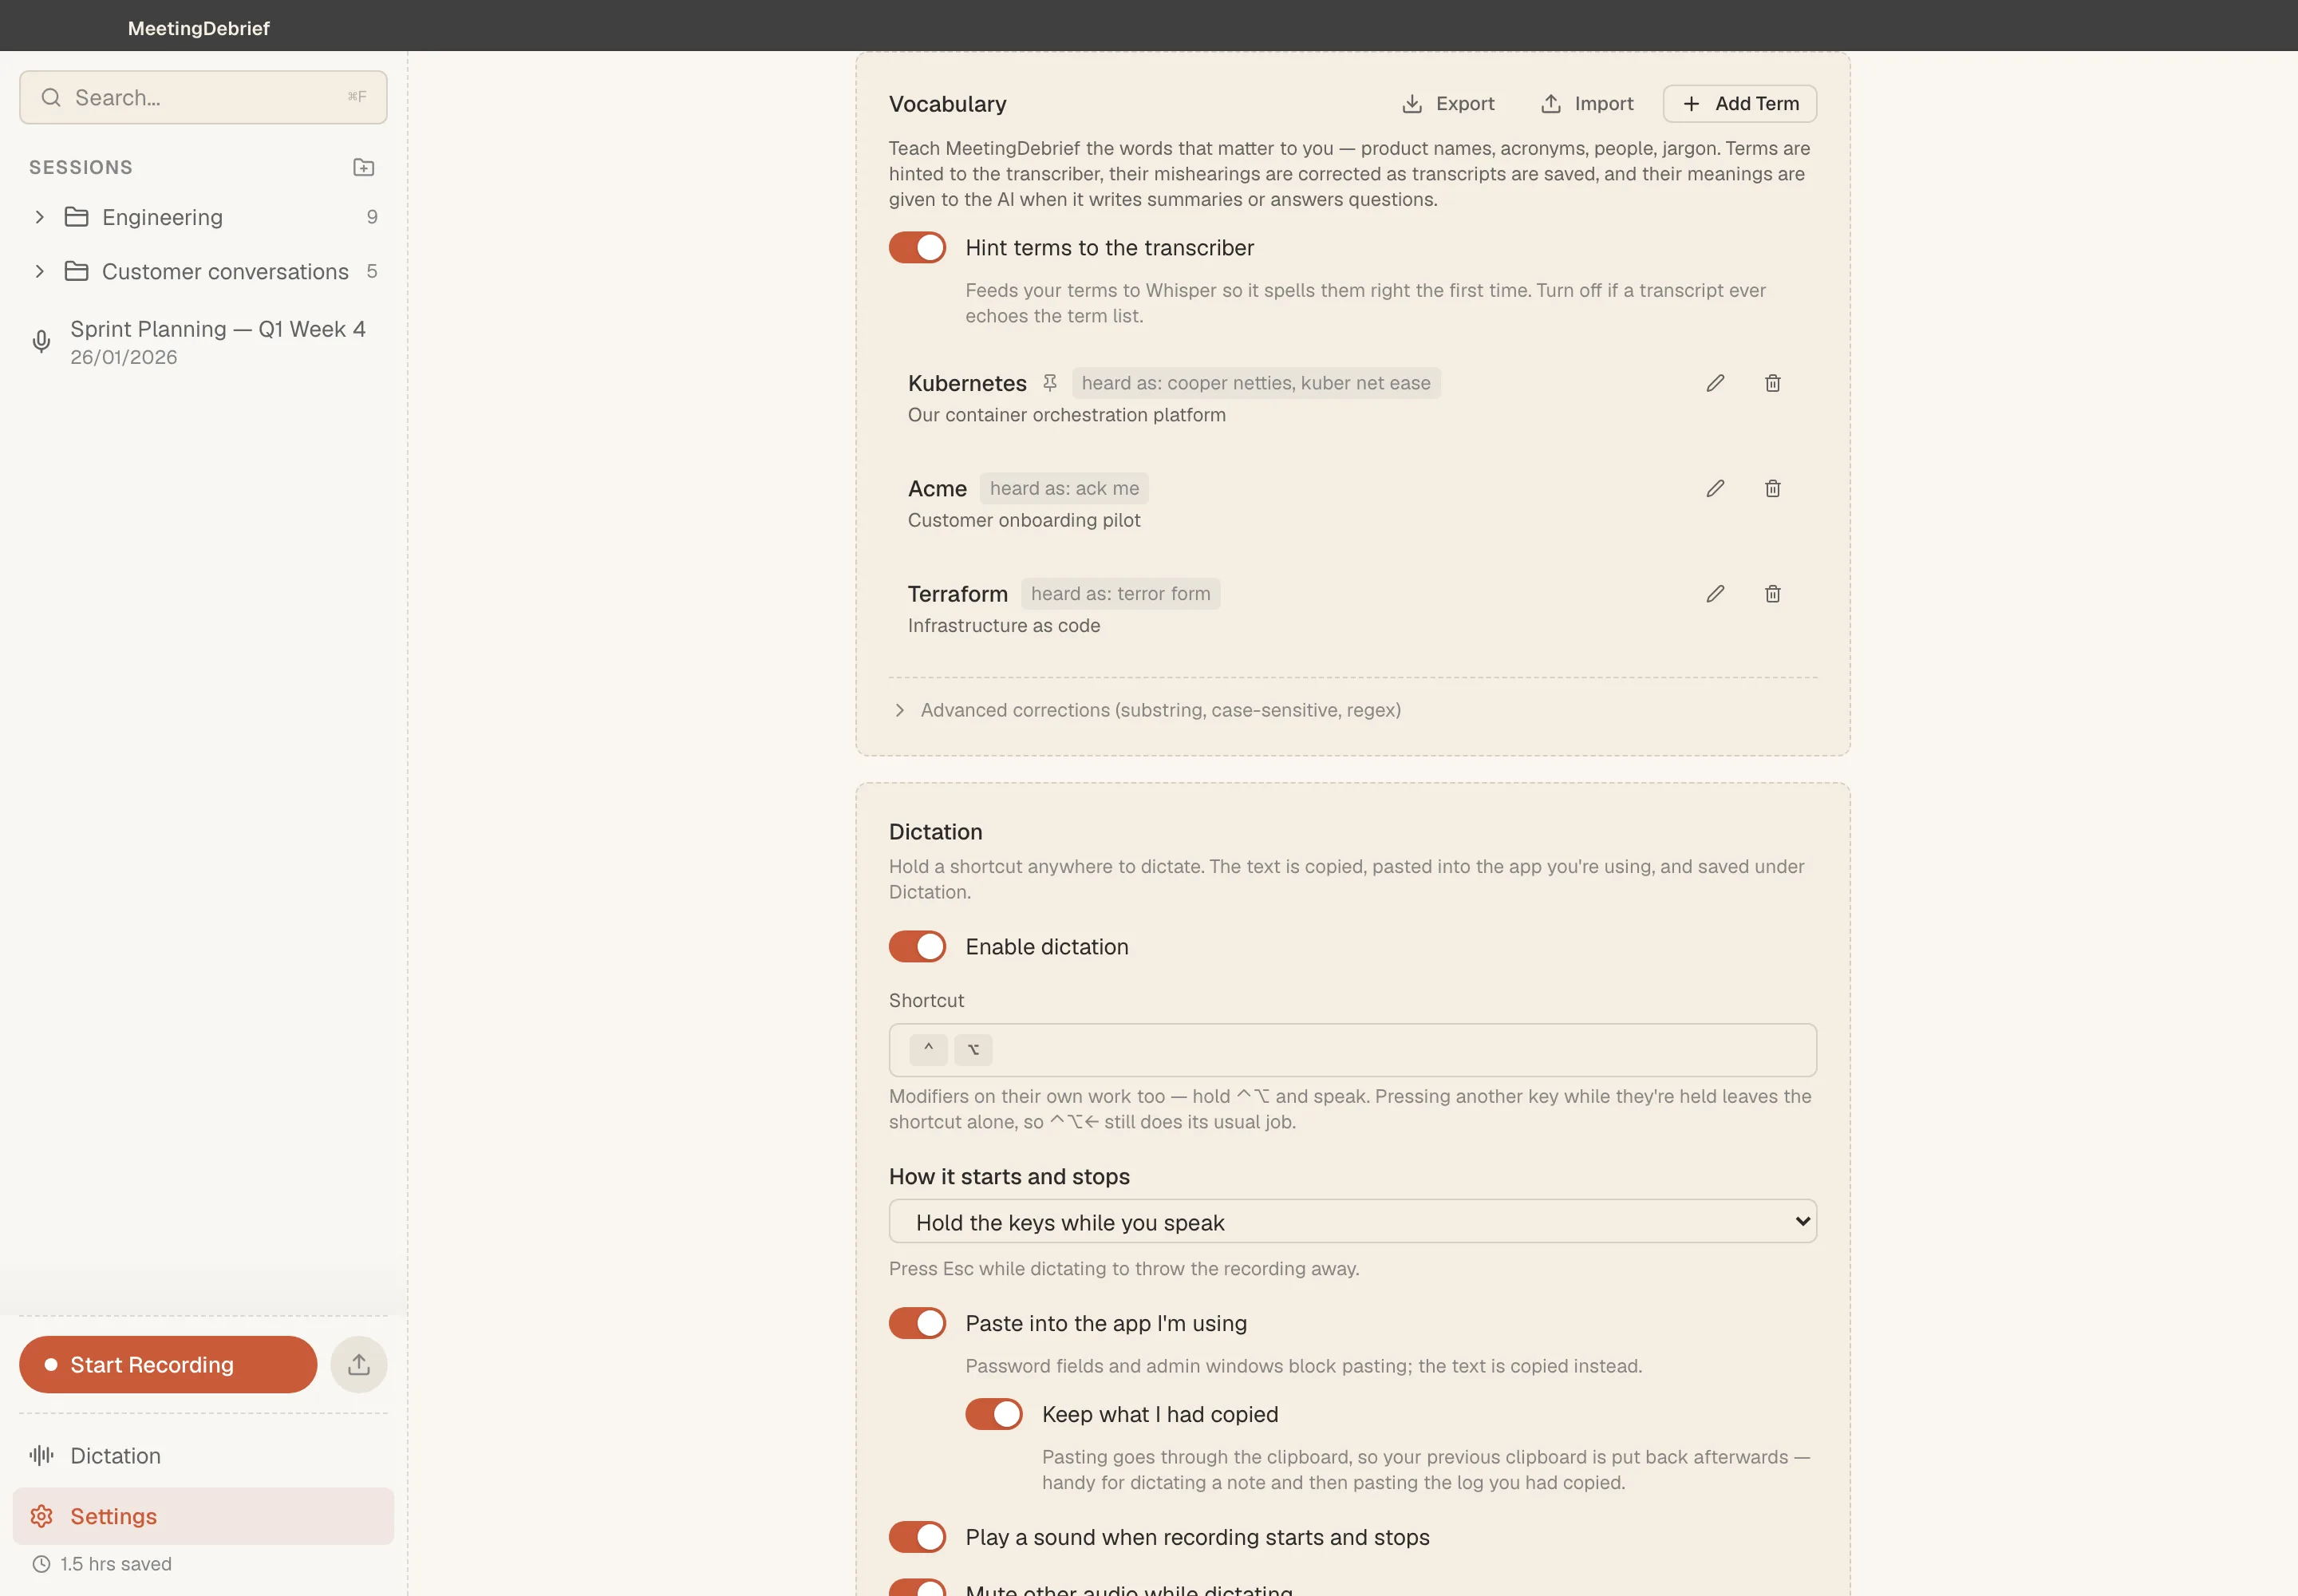
If an infrastructure interview repeatedly renders “Kubernetes” as “kuber netties,” create this entry:
- Term:
Kubernetes - Meaning:
The container orchestration system discussed in this interview. - Also heard as:
kuber netties, pressing Enter after the mishearing.
Only add a mishearing when it reliably refers to that term. An alias that is also an ordinary word could replace legitimate speech elsewhere. Saved aliases correct transcripts as they are saved and remain available for future interviews.
You can also capture a correction while reading:
- Hover over the transcript line and click the pencil, Edit line.
- Correct the word and press Enter to save. Esc cancels.
- After a small one-word fix, MeetingDebrief may ask Always fix “X” → “Y”? Click Remember to save the misheard form as an alias.
Transcript edits flag existing summaries as out of date. Regenerate affected summaries after cleanup so they reflect the corrected wording.
Check every quoted line against synced playback
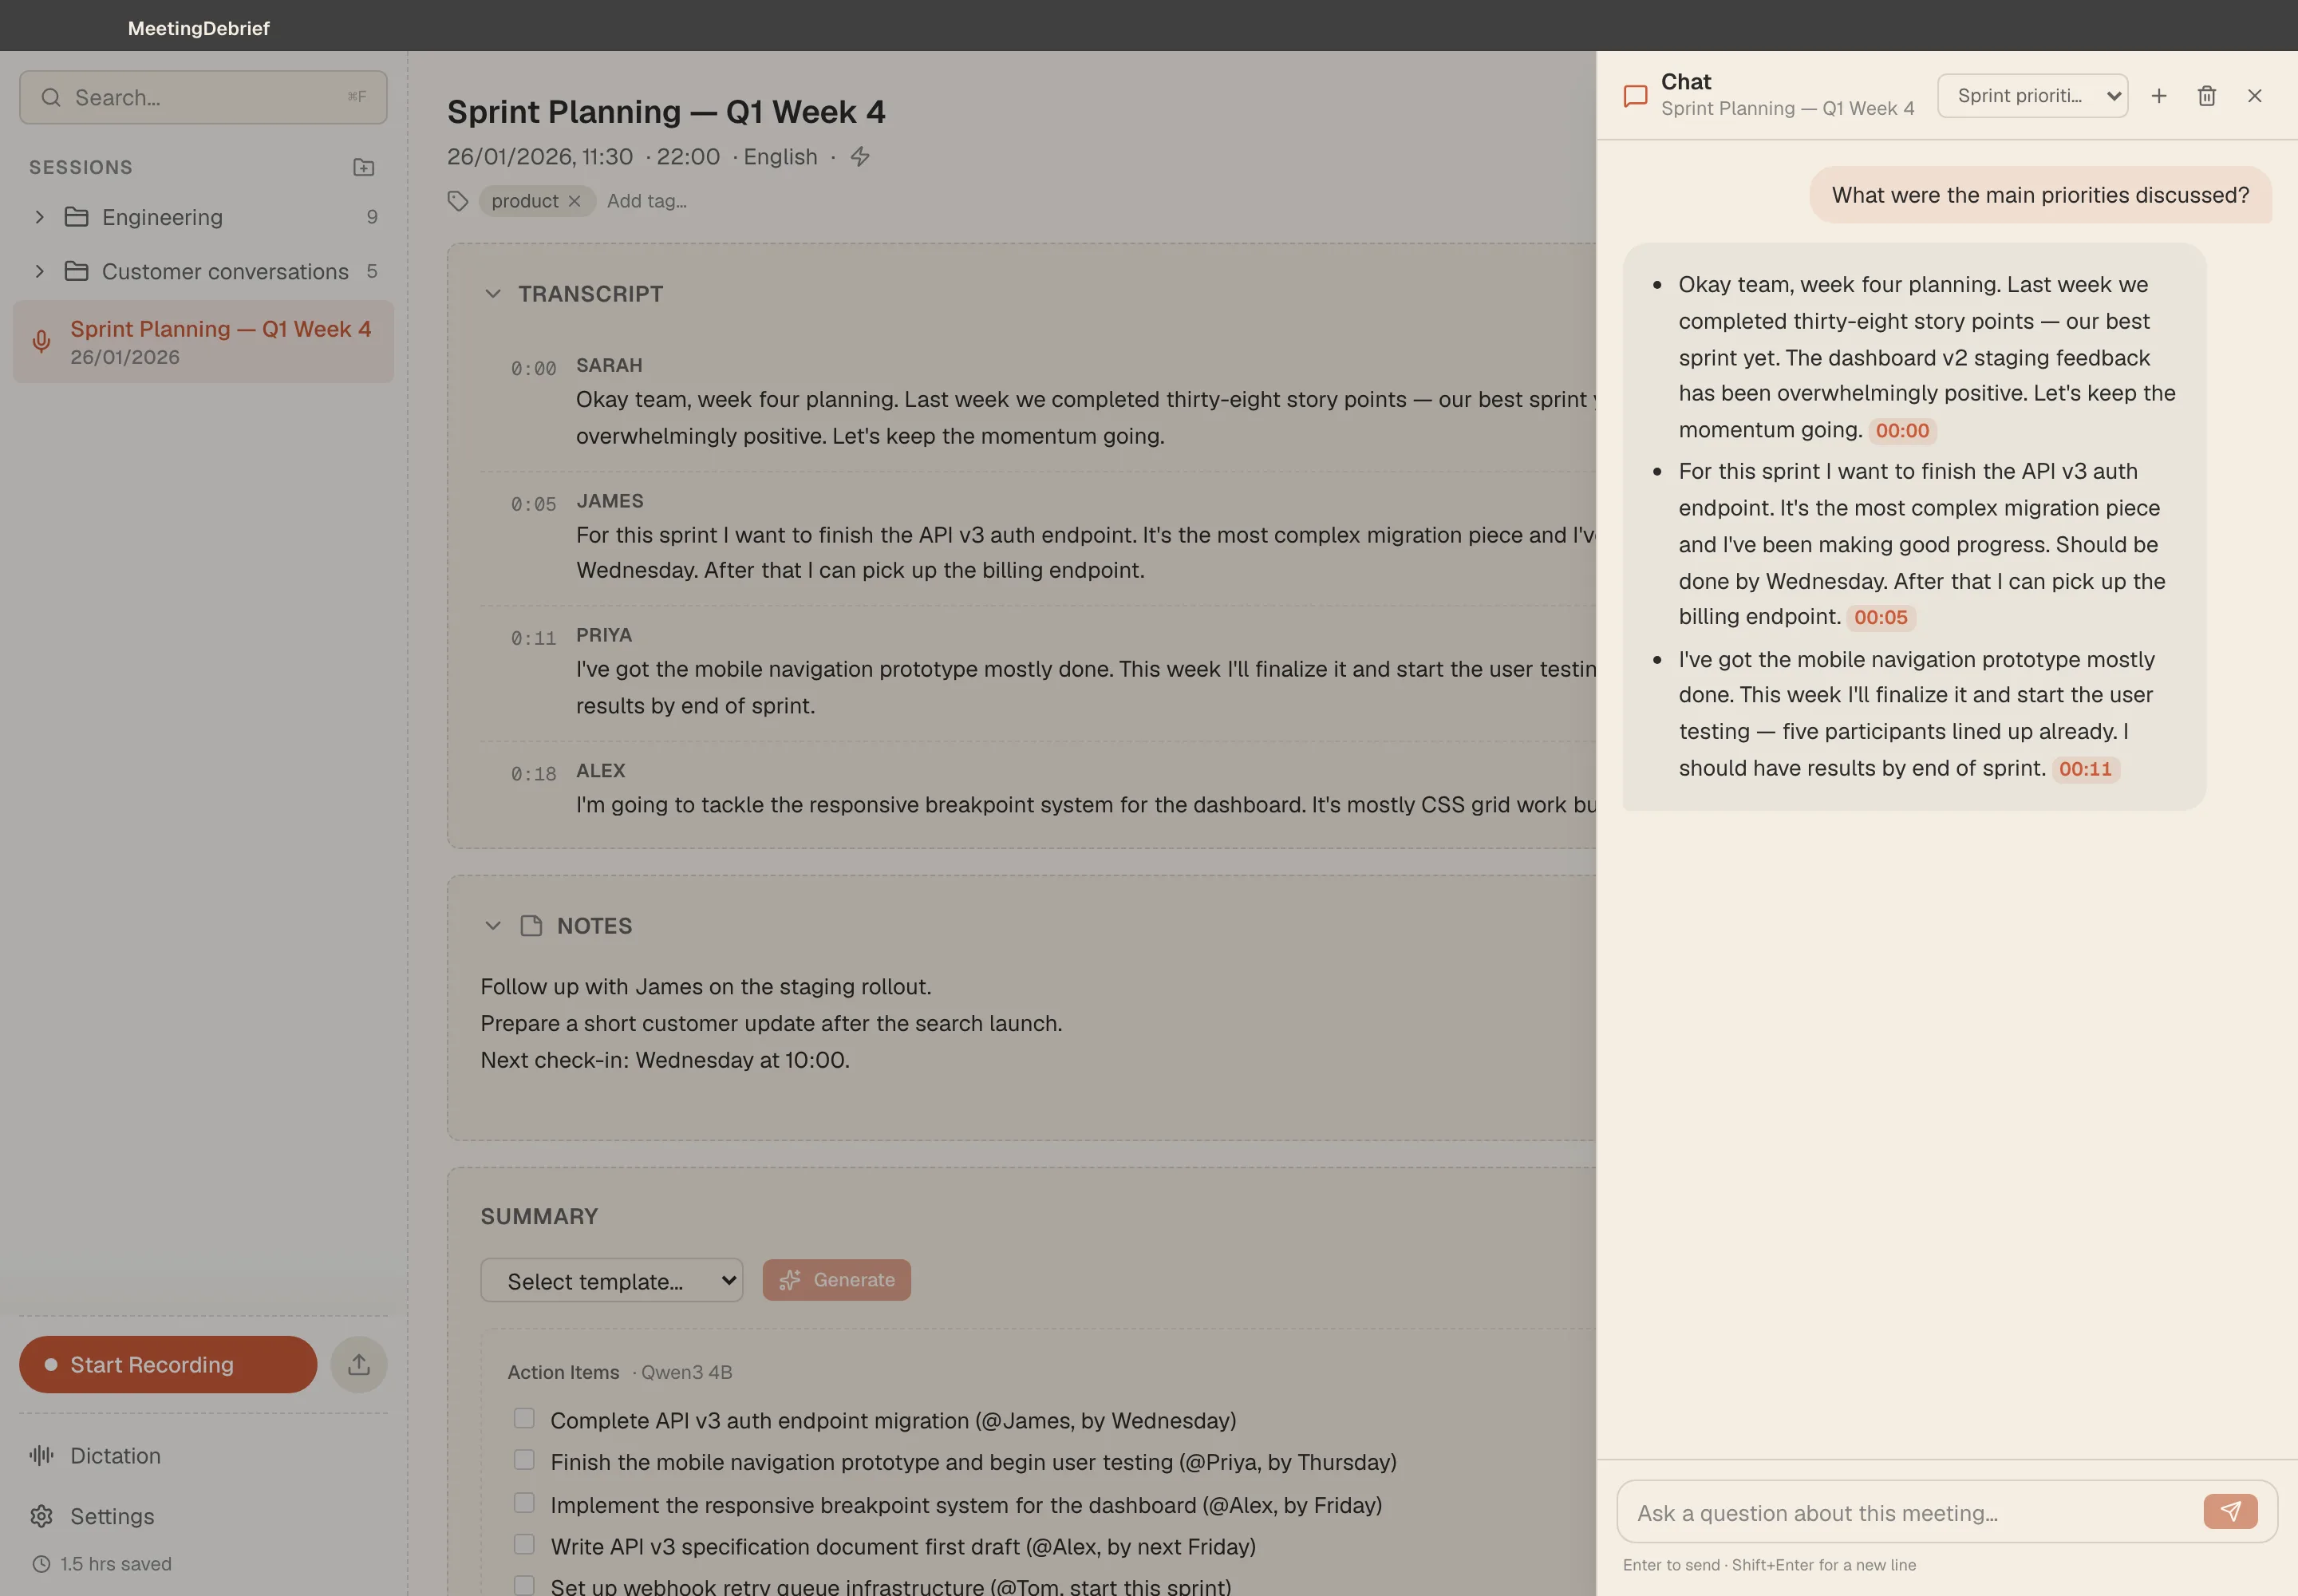
Start with passages you intend to quote. Click a transcript timestamp in MeetingDebrief to jump to that point in the audio. Playback highlights the current segment, letting you compare the wording without losing your place. This requires retained session audio.
For each candidate quotation:
- Play the passage with its surrounding answer. Check the excerpt’s boundaries. A qualification in the next sentence may change what it implies.
- Compare the words. Check negation, names, dates, quantities, and units.
- Confirm the speaker. Listen across the preceding turn, especially after interruptions. A consistent transcript label does not establish attribution.
- Correct the text, then replay it. Compare the revised line against the recording before marking it as checked.
For example, if the draft reads “We tested fifty samples” but playback confirms “We tested fifteen samples,” the checked quote is “We tested fifteen samples.” The correction changes the quantity from 50 to 15, even though both sentences sound plausible.
Next, review names and numbers outside your quotations, plus passages affected by noise, accents, or overlapping voices. If repeated playback cannot resolve a word or speaker, mark the uncertainty and exclude that passage from direct quotations until it can be established. Confirming a name’s spelling from interview notes does not establish that the person said it at that moment.
For a review document, retain one segment per line with its timestamp and speaker label. Add the recording identifier and review date so another reviewer can locate the source and distinguish checked text from an earlier draft. Share it only with authorized reviewers. An illustrative review excerpt could look like this; bracketed review notes are not spoken words:
[12:30] Interviewer: How many samples did you test?
[12:34] Interviewee: We tested fifteen samples. [review note: corrected from “fifty”; checked against audio]
[12:38] Interviewee: The next step was [pause] to [interrupted]
[12:40] Interviewer: [overlap] To repeat the test?
[12:43] Interviewee: [inaudible 12:43] [review note: unresolved; do not quote]
Set a retention rule for the source audio
Keep the recording through the period when you may need to defend or revisit a quotation, subject to participant consent and institutional rules. Interviews awaiting publication, academic citation, or possible dispute may need longer retention. A checked transcript alone cannot resolve a later challenge about tone or omitted context.
Under Settings → General → Keep audio files:
- Audio retention is on by default, with a 30-day retention period.
- 0 keeps audio files forever.
- Turning Keep audio files off deletes audio as soon as transcription finishes.
Immediate deletion removes session playback before your verification pass. Choose a period that leaves time for review; retain audio indefinitely only when you have a reason and permission to do so. The retention settings control how long that playback source remains available.
Treat the original phone or recorder file separately. If you delete an interview recording, account for source copies and backups rather than assuming session retention covers them.
Use one identifier across related files, such as INT-014_audio and INT-014_transcript_checked. In the transcript header, record the interview date, transcript style, verification status, and audio-retention deadline. After deletion, record the date and note that source audio is no longer available.
Try MeetingDebrief on one interview you already need to transcribe. Measure the time spent correcting and checking the draft against your current method. Assess whether the checked passages are defensible as quotations. Confirm that keeping processing on-device met the confidentiality requirement that ruled out upload-based tools.