How to Transcribe Google Meet Without Inviting a Bot
A practical Google Meet transcription workflow for sensitive calls. Learn when native Meet is enough and how to capture both sides locally on Mac or Windows without inviting a bot.
 Martijn Smit
6 min read
You’re two minutes from a Google Meet with a client about a revised project budget. You need a record of what gets agreed, but inviting a recording bot means explaining another participant before you’ve started discussing the numbers.
For Google Meet transcription without a bot, choose between Meet’s built-in feature and local recording. The choice depends on what your Workspace provides and where the conversation can be stored. With local capture, one Mac permission or Windows audio-device setting determines whether you record the client’s voice as well as yours.
Use Meet-native transcription when your Workspace and storage rules allow it.
Use Meet’s built-in transcription if your Workspace makes it available and keeping the transcript in Google is acceptable for the client discussion. There’s no need for a separate recording workflow when the native option meets those requirements.
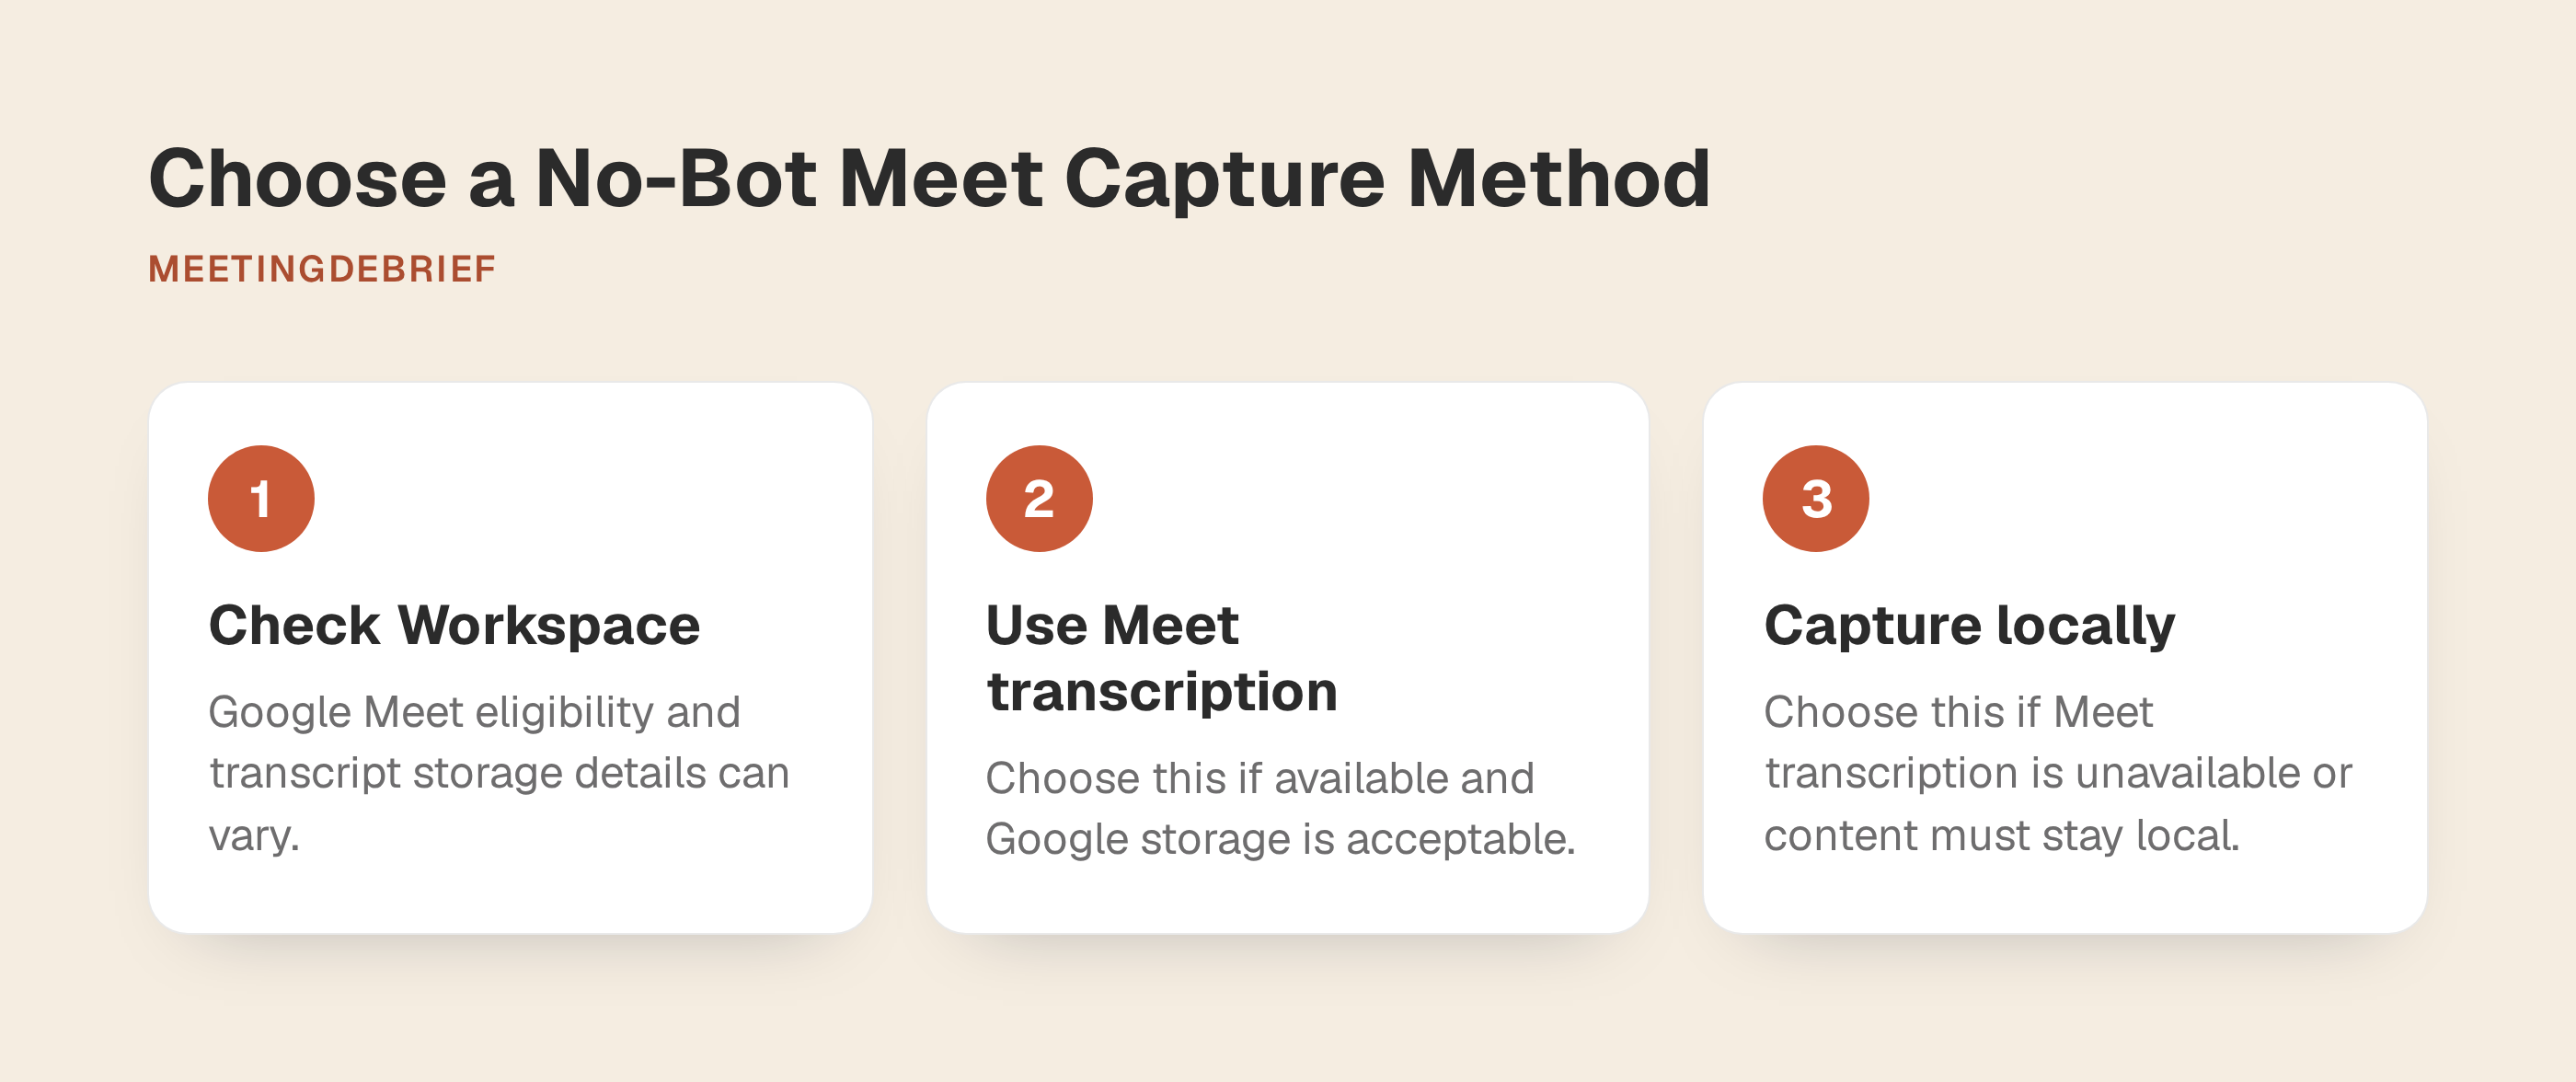
Before the call, confirm availability with your Workspace administrator and check who will have access to the saved transcript. If the option is missing, choose another capture method rather than assuming you can retrieve a transcript afterward.
Live transcription captures speech during the meeting. Transcribing afterward requires an existing recording. If you finish the budget call without either, there’s nothing to process later. If you already have a recording, use the file-import route below.
For this budget call, decide whether the transcript can live in Google or must stay on your laptop. Separately, confirm whether a bot in the participant list is acceptable. If Meet’s native transcription is unavailable or the conversation must stay local, use local capture.
A no-bot recording still needs disclosure.
MeetingDebrief captures your microphone and system audio directly on your computer. The microphone records your voice; system audio captures the client’s voice playing through your headset or speakers. It doesn’t join Google Meet, so there’s no extra participant tile or recording bot to admit.
MeetingDebrief downloads its AI models during setup, then runs recording, transcription, summaries and chat on your computer. Audio, transcripts and chat answers stay there, with no cloud upload. Those processes need no internet connection after setup, though your Google Meet call still does. This describes MeetingDebrief’s copy of the conversation, not how Google handles the call itself. The privacy documentation explains the on-device processing.
Before recording: Tell the client you intend to record for notes, explain that MeetingDebrief processes the recording locally, and obtain any consent required for the call. The absence of a bot is not a substitute for disclosure.
Settle that agreement before starting the recorder. Local processing determines where meeting content goes, not whether you’re permitted to record it.
On Mac, Screen Recording permission is required to capture the client’s voice.
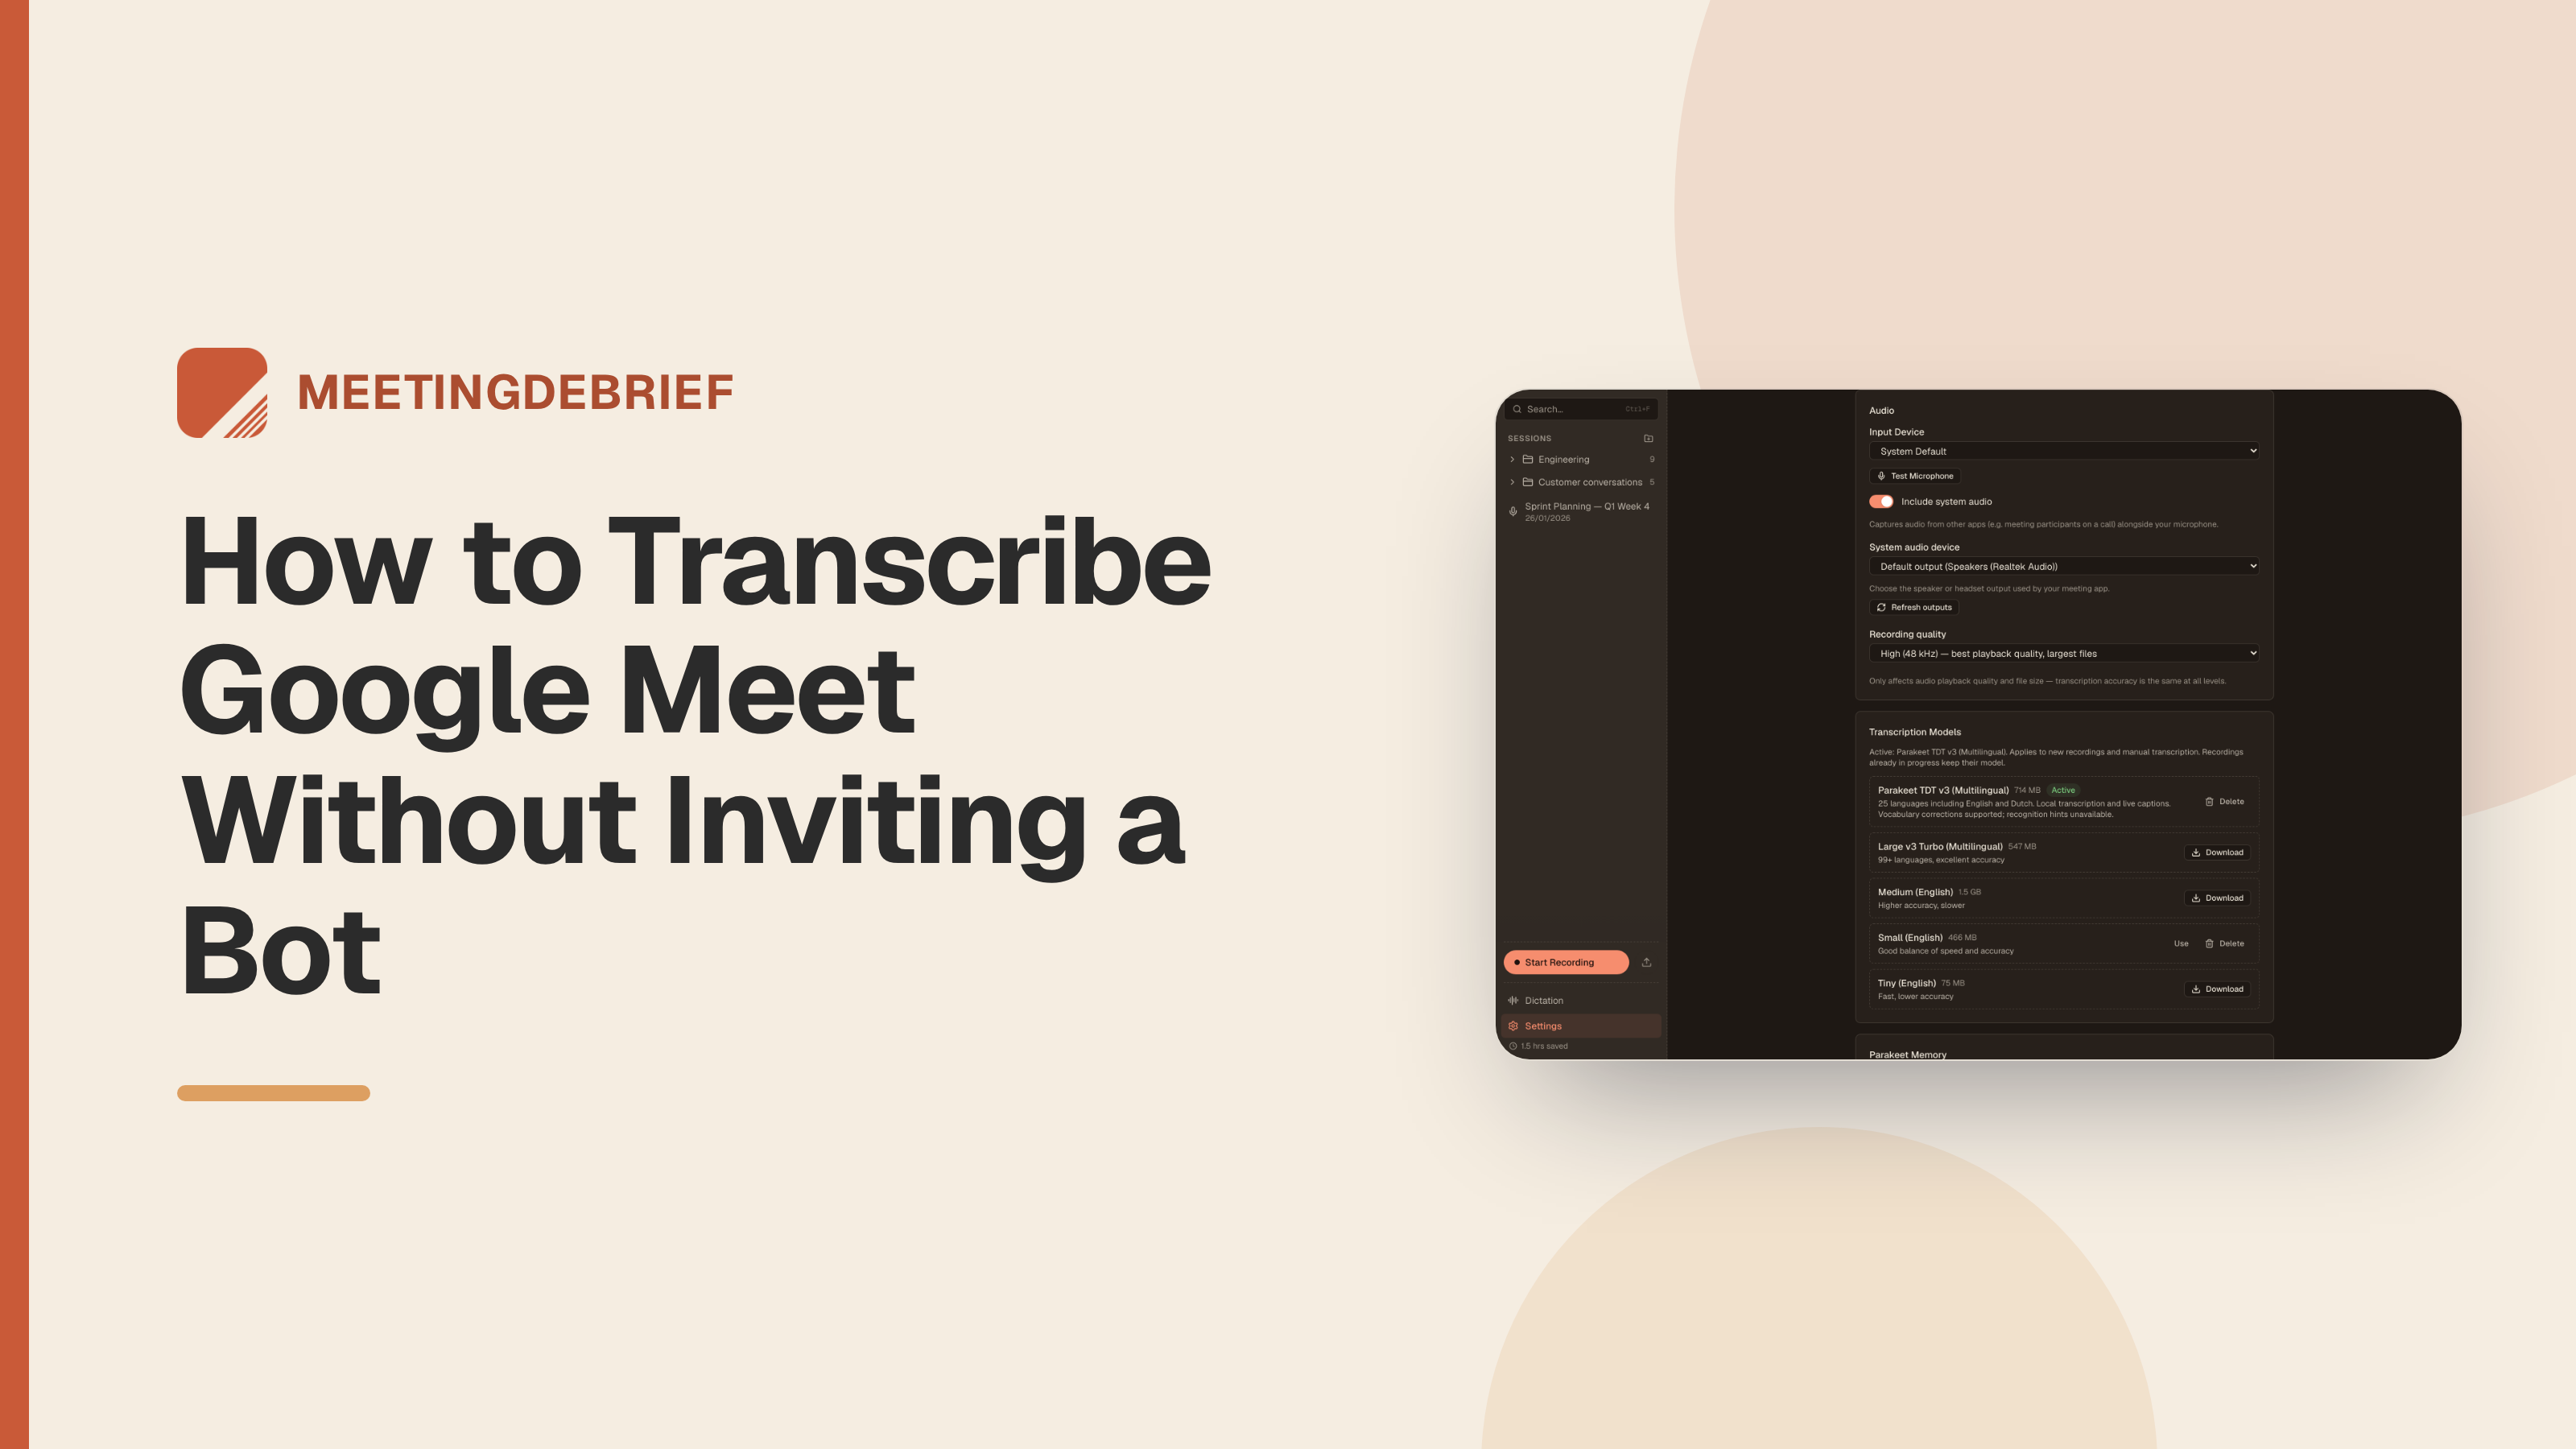
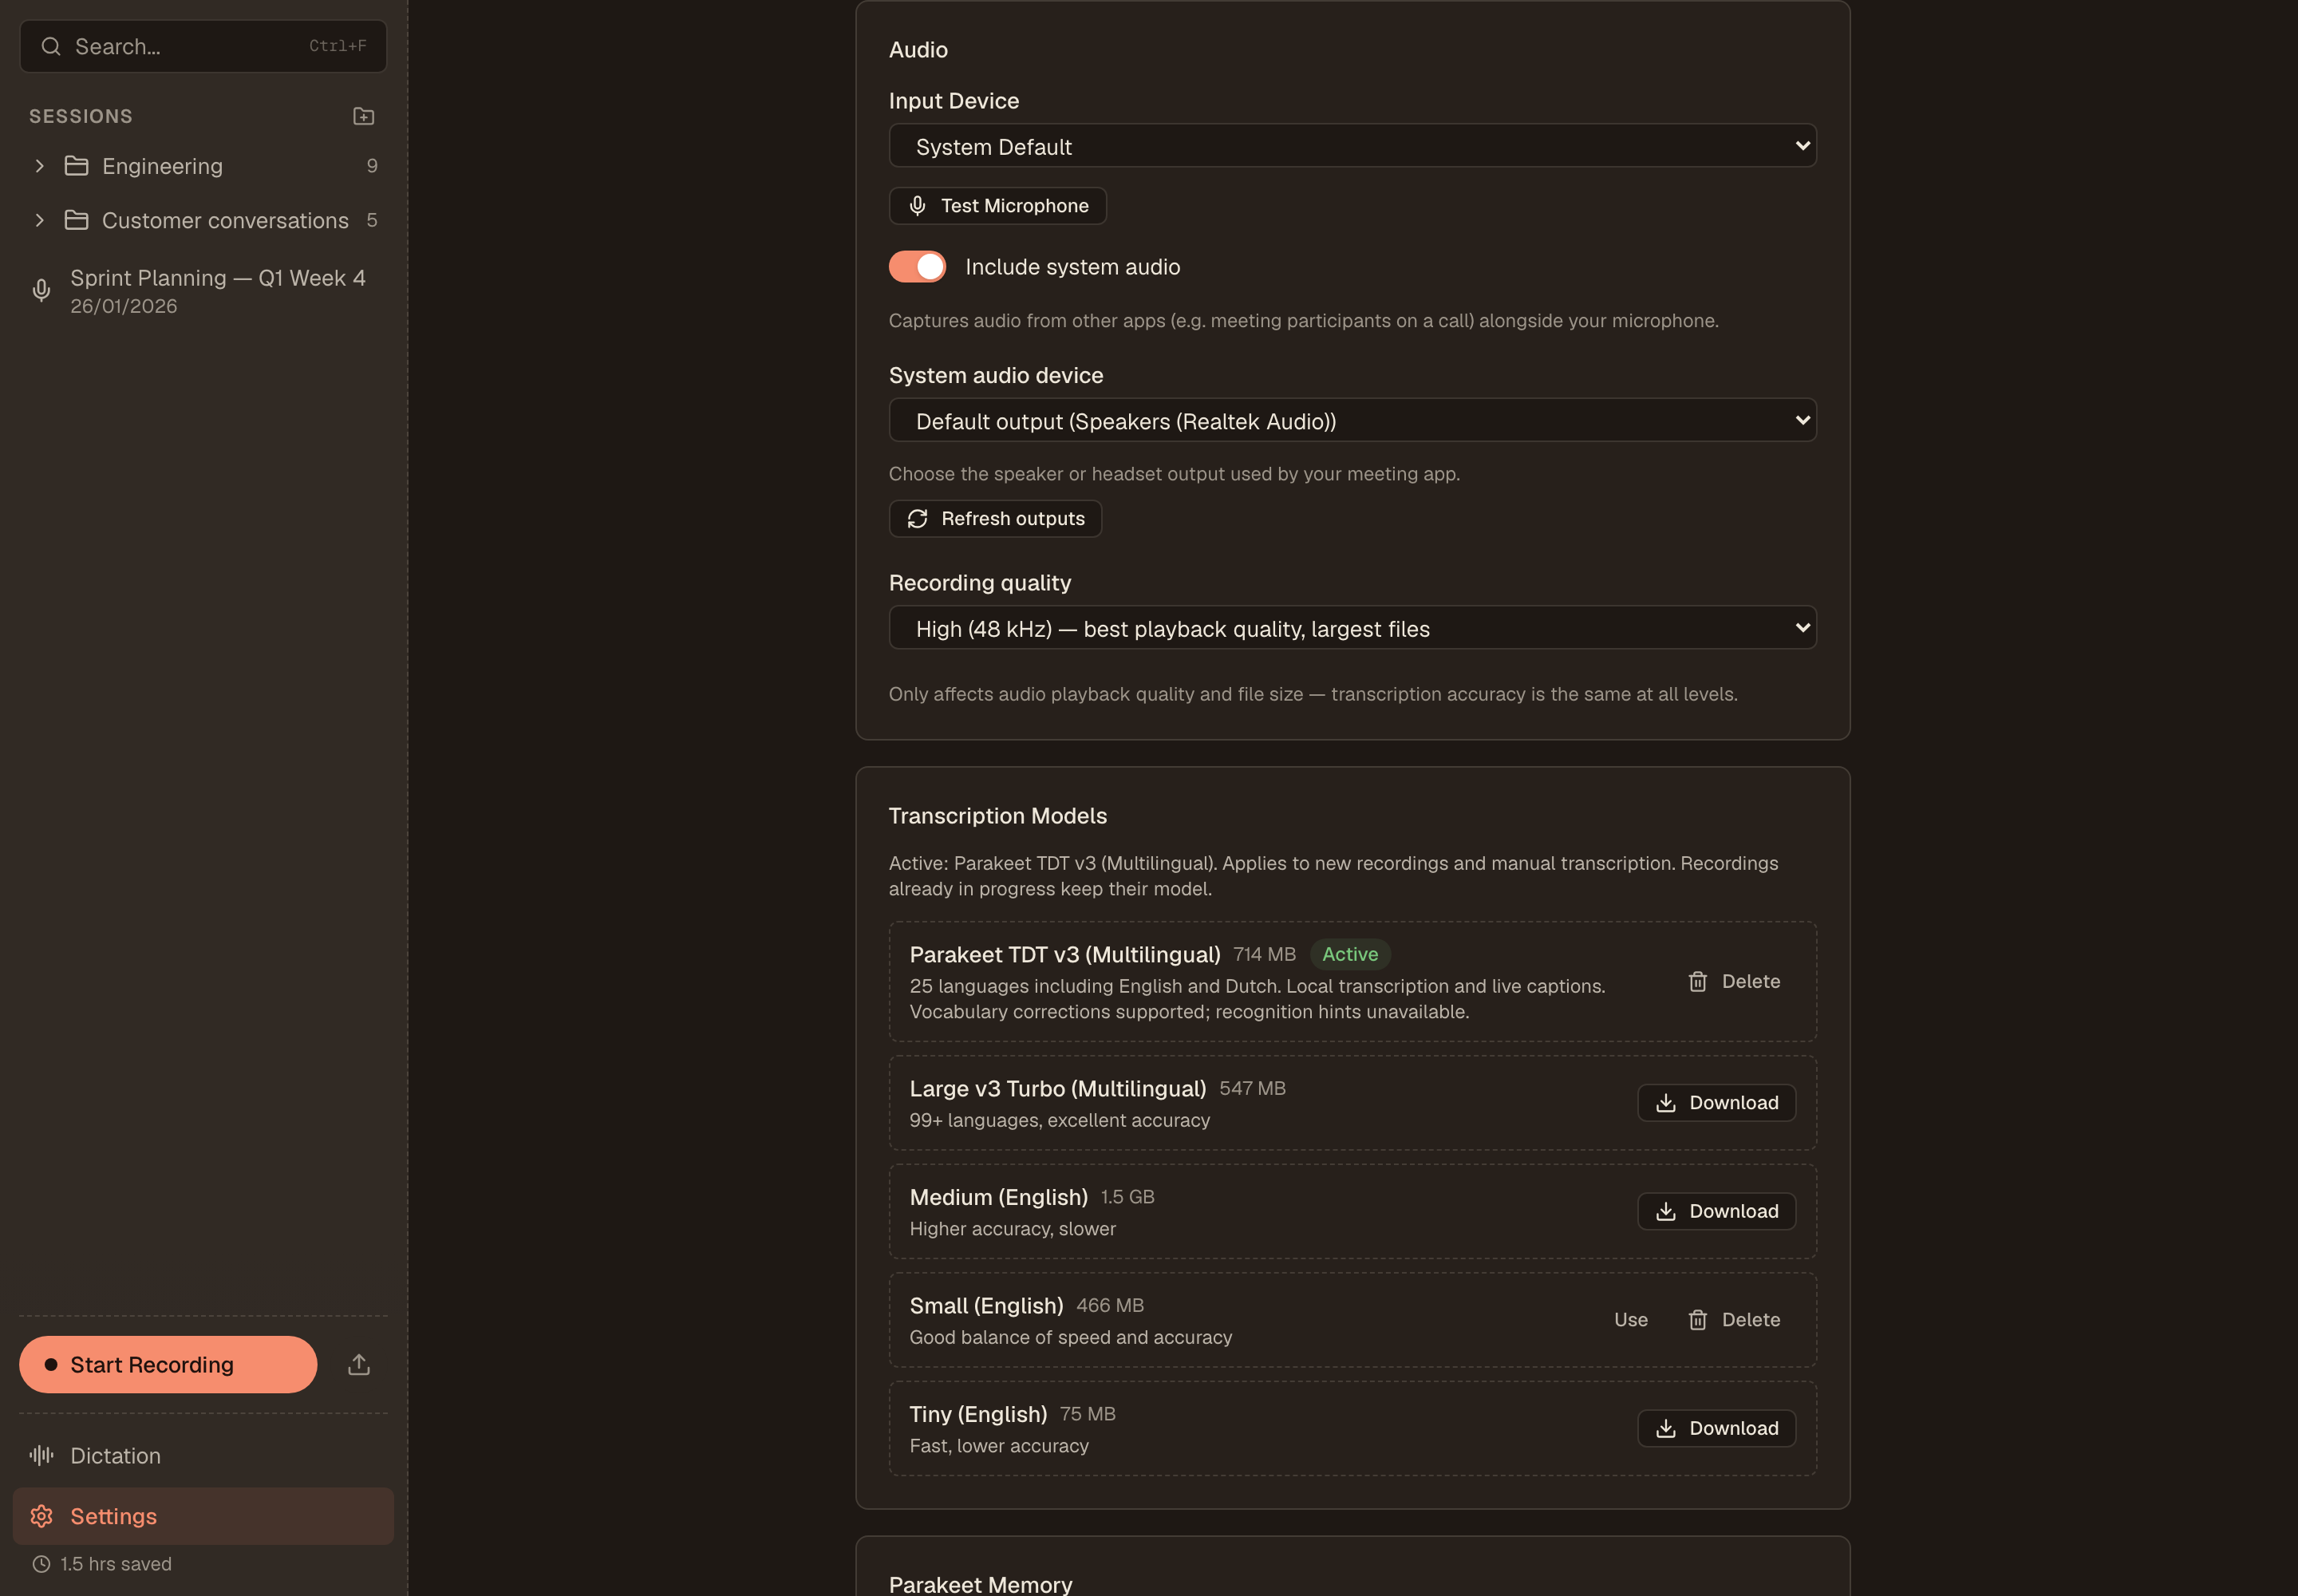
Open MeetingDebrief’s Settings → Audio and turn on Include system audio to capture Google Meet audio alongside your microphone. If a test recording contains your voice but none of the client’s replies, check the Mac permission rather than changing settings inside Meet.
Open macOS System Settings → Privacy & Security → Screen Recording and confirm MeetingDebrief is enabled. Despite its name, this permission is required to capture system audio. If the other side is still missing after you grant access, restart MeetingDebrief and try another short recording. The Mac troubleshooting instructions cover both steps.
Microphone access is a separate permission, requested through a system dialog during setup. Granting it alone does not enable system-audio capture. Before a test call, go to Settings → Audio → Input Device and select your microphone. Click Test Microphone, speak, and check that the live level meter responds; Stop Test ends the test.
This catches a wrong input before you ask a colleague to join. A responding meter confirms your microphone works, but you still need a recording with someone speaking through Meet to check remote audio.
On Windows, choose the headset or speakers Meet is actually using.
You might hear the client clearly through a USB headset while Windows’ default output remains the laptop speakers. Leaving MeetingDebrief’s capture device on Default output can then miss the client’s replies.
Open MeetingDebrief’s Settings → Audio. Keep Include system audio on, then choose the headset or speakers carrying the Meet audio under System audio device. Match the device you’re listening through rather than assuming the Windows default is correct.
If your headset isn’t listed, click Refresh outputs, then select it. If a saved device becomes unavailable, MeetingDebrief shows “Your saved device is unavailable” rather than silently falling back to microphone-only recording. Resolve that warning before the call. The audio settings documentation covers output selection.
Test with the headset you’ll use for the client meeting. Ask a colleague on a short Google Meet to say “the revised budget includes travel.” Record your reply too, then listen back for both phrases. If you switch from speakers to a headset afterward, check System audio device again.
Start recording or import a file, but expect Me/Other labels only.
After agreeing to record the budget discussion, click Start Recording in MeetingDebrief’s sidebar. You can also start from the floating recorder overlay or tray menu. Recording is manual, so make starting it part of your opening routine.
Stopping saves the audio and creates a session, which holds the recording, transcript, summaries and notes. Auto-transcribe after recording is on by default, so transcription starts right away. If you’ve switched it off, open the session and click Transcribe. With Auto-summarize after transcription enabled, the summary follows automatically.
For an existing Google Meet recording, click Upload audio file next to Start Recording in the sidebar. Supported formats are WAV, MP3, M4A, OGG, FLAC, MP4 and AAC. Importing creates a session, and transcription starts automatically when Auto-transcribe after recording is on. The recording instructions cover both routes.
The transcript distinguishes Me from Other, not individual participants by name. If two client colleagues join, both are labelled Other. These labels require both microphone and system audio. Before assigning a budget commitment to someone in your notes, check who actually made it.
In the next 24 hours, run one short internal Meet through the workflow, including stopping and waiting for the transcript. Confirm that both voices appear, then compare one budget figure with the recording before copying it into notes.
Frequently asked questions
Can I transcribe a meeting offline after setup?
Yes. MeetingDebrief downloads its models during setup, then records, transcribes and summarizes offline. You can process the budget recording after disconnecting; the Google Meet call itself still needs internet access.
Will MeetingDebrief automatically record my next Google Meet?
No. It doesn’t auto-join meetings or start recording from your calendar. Start recording yourself once everyone has agreed to it.
Does “Upload audio file” send my recording to the cloud?
No. The button imports an existing recording into MeetingDebrief for on-device transcription. The audio and transcript stay on your computer.
Download MeetingDebrief to test the workflow free for seven days, with no account or card required.