How to Transcribe Audio Locally on Mac or Windows
A practical local-first workflow for turning an existing recording into text on Mac or Windows without uploading it to a cloud transcription service.
Martijn Smit 6 min read
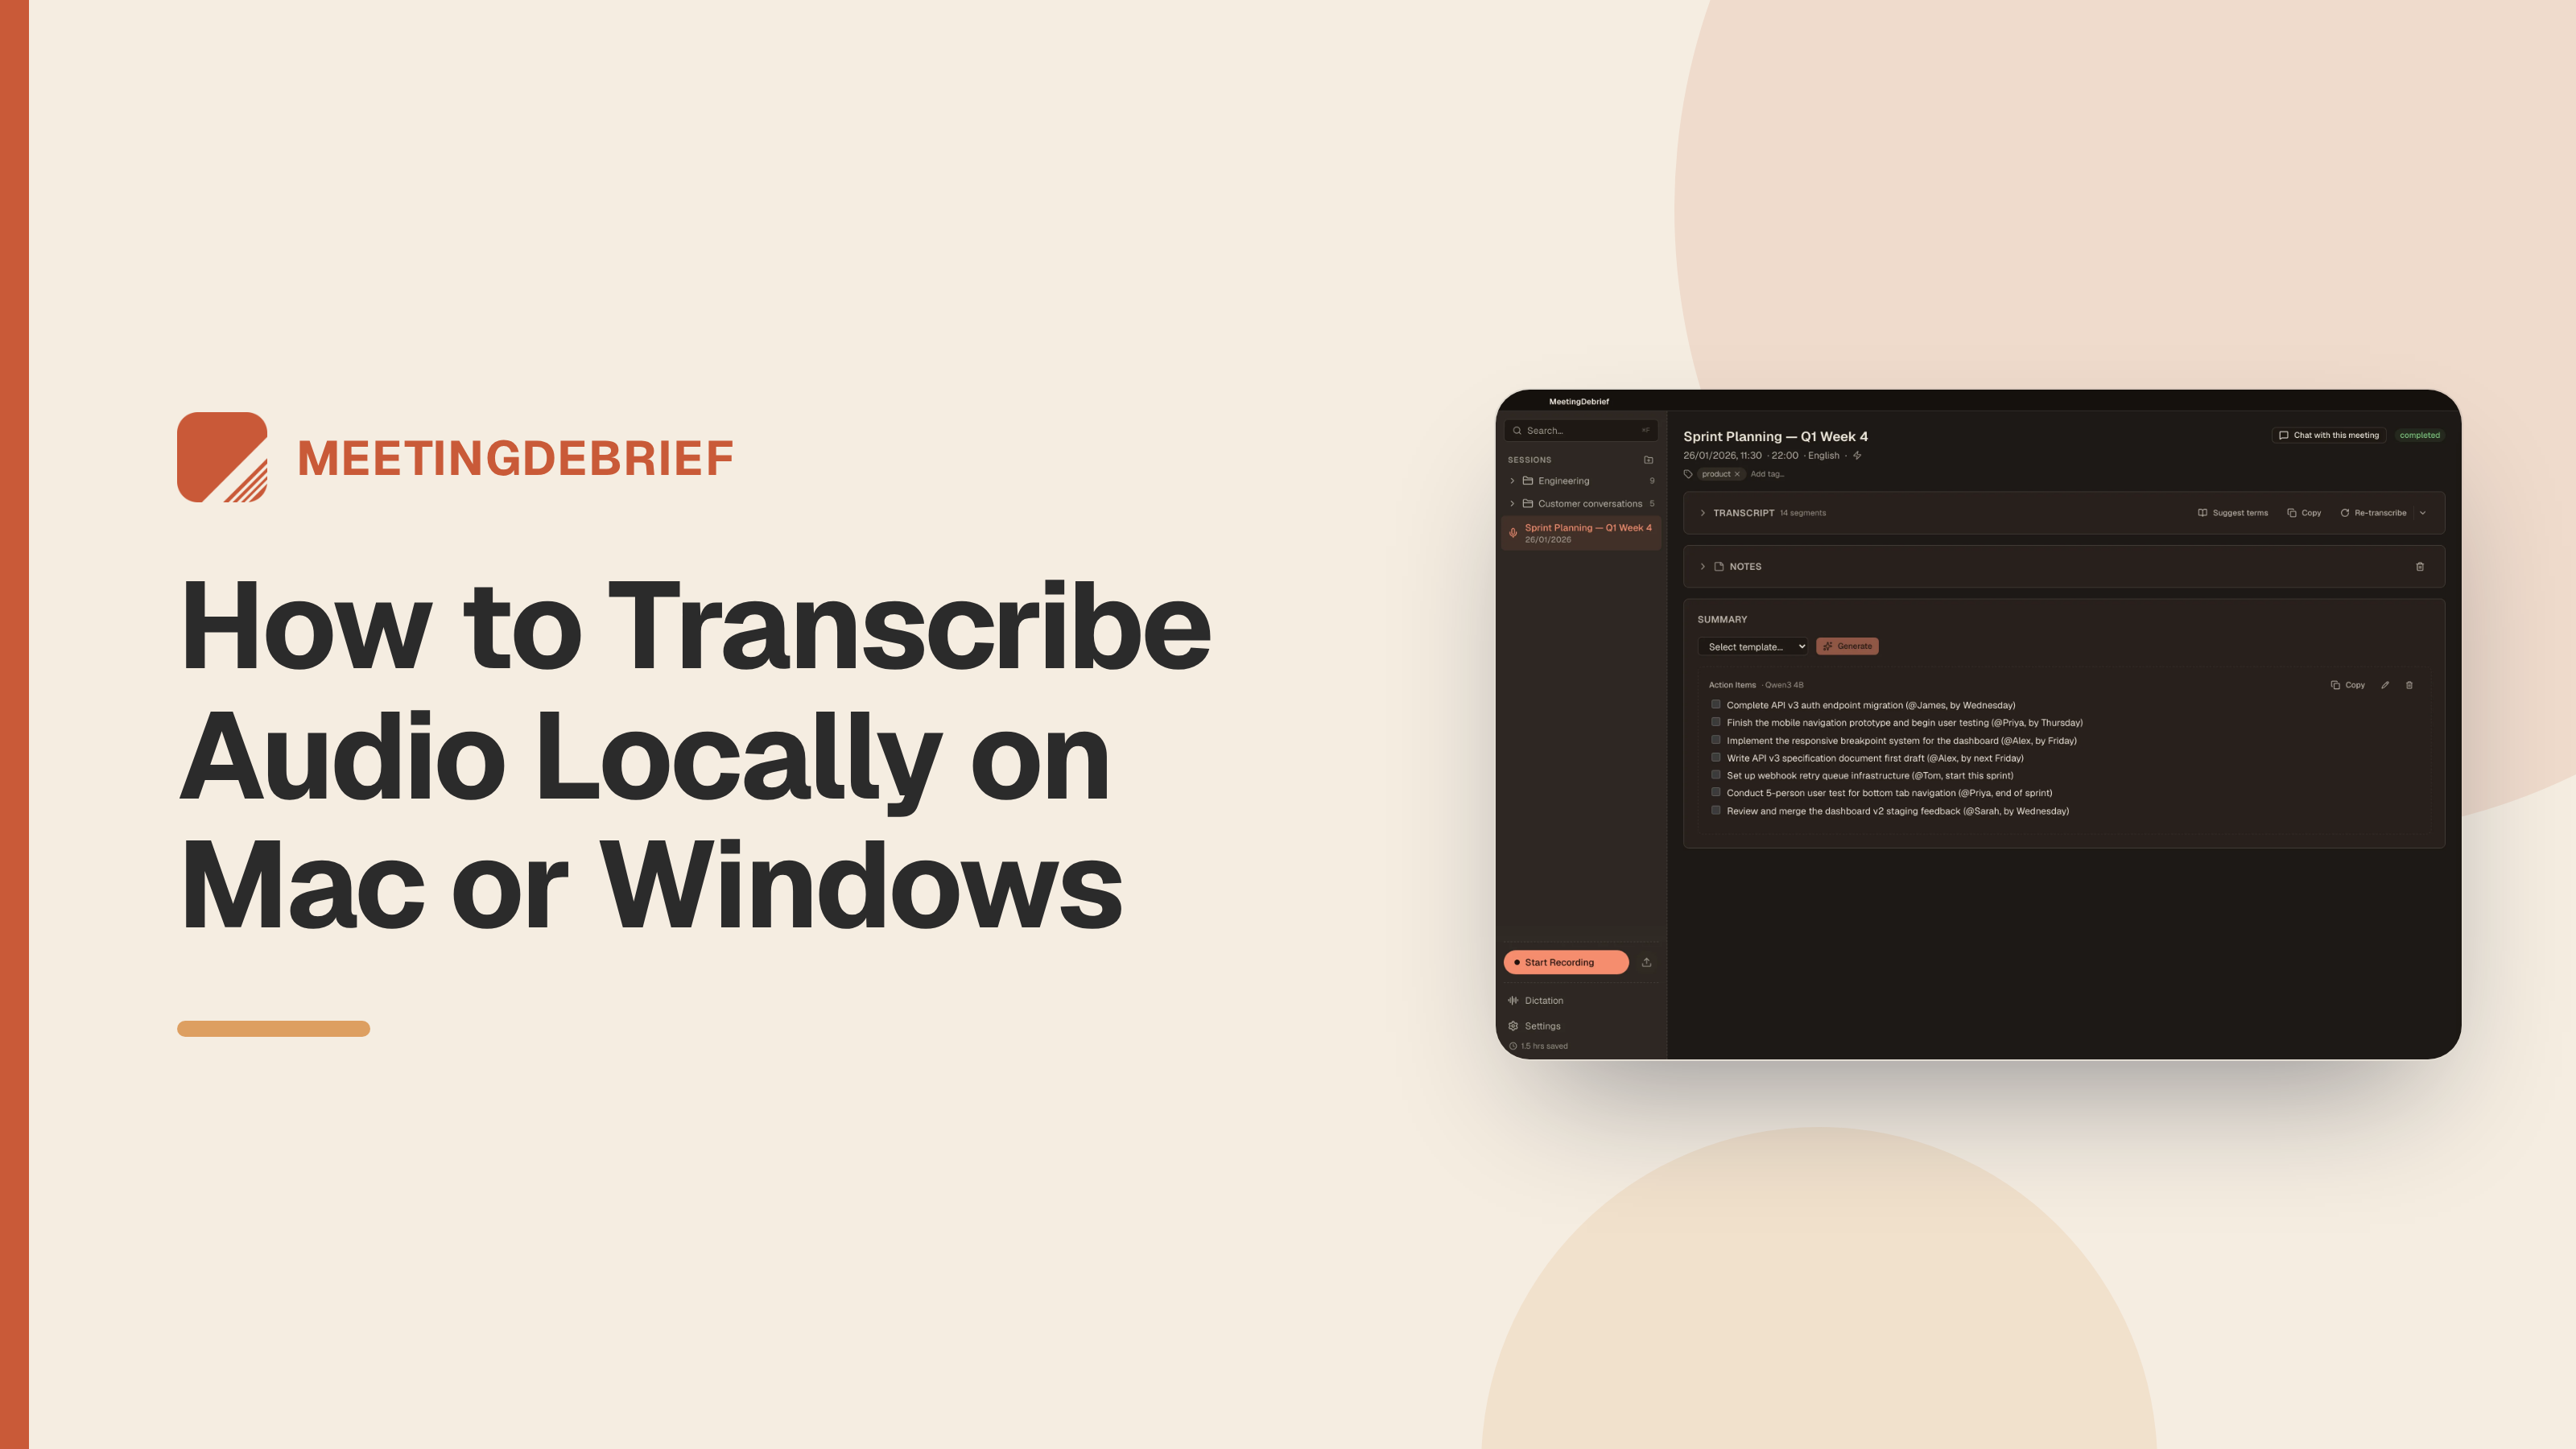
If you need to transcribe audio from an existing file without sending it to a browser uploader, MeetingDebrief is a desktop app for macOS and Windows that downloads its models during setup so recording, transcription, summarization, chat, and dictation all run locally on your device.
It fits the person with an interview MP3, a saved client call, a lecture capture, or a podcast draft who needs text quickly but cannot send the file to a cloud service because of confidentiality, offline work, or procurement rules. If you just need a quick transcript for disposable audio and do not care where the file goes, a browser uploader is simpler.
With a local app, privacy comes from architecture, not a promise to delete your file later. The steps below focus on importing an existing recording, choosing the right model, fixing the rough spots, and checking important quotes against the audio before you copy the transcript out.
When local is worth the install
Local is worth the install when the recording cannot leave your machine and you expect to reuse the setup for more than one file. If you only need a one-off transcript for throwaway audio, a browser uploader is less setup. Either way, plan extra review for recordings with overlapping speakers, distant microphones, or heavily compressed phone audio.
Import the audio file and let the session start
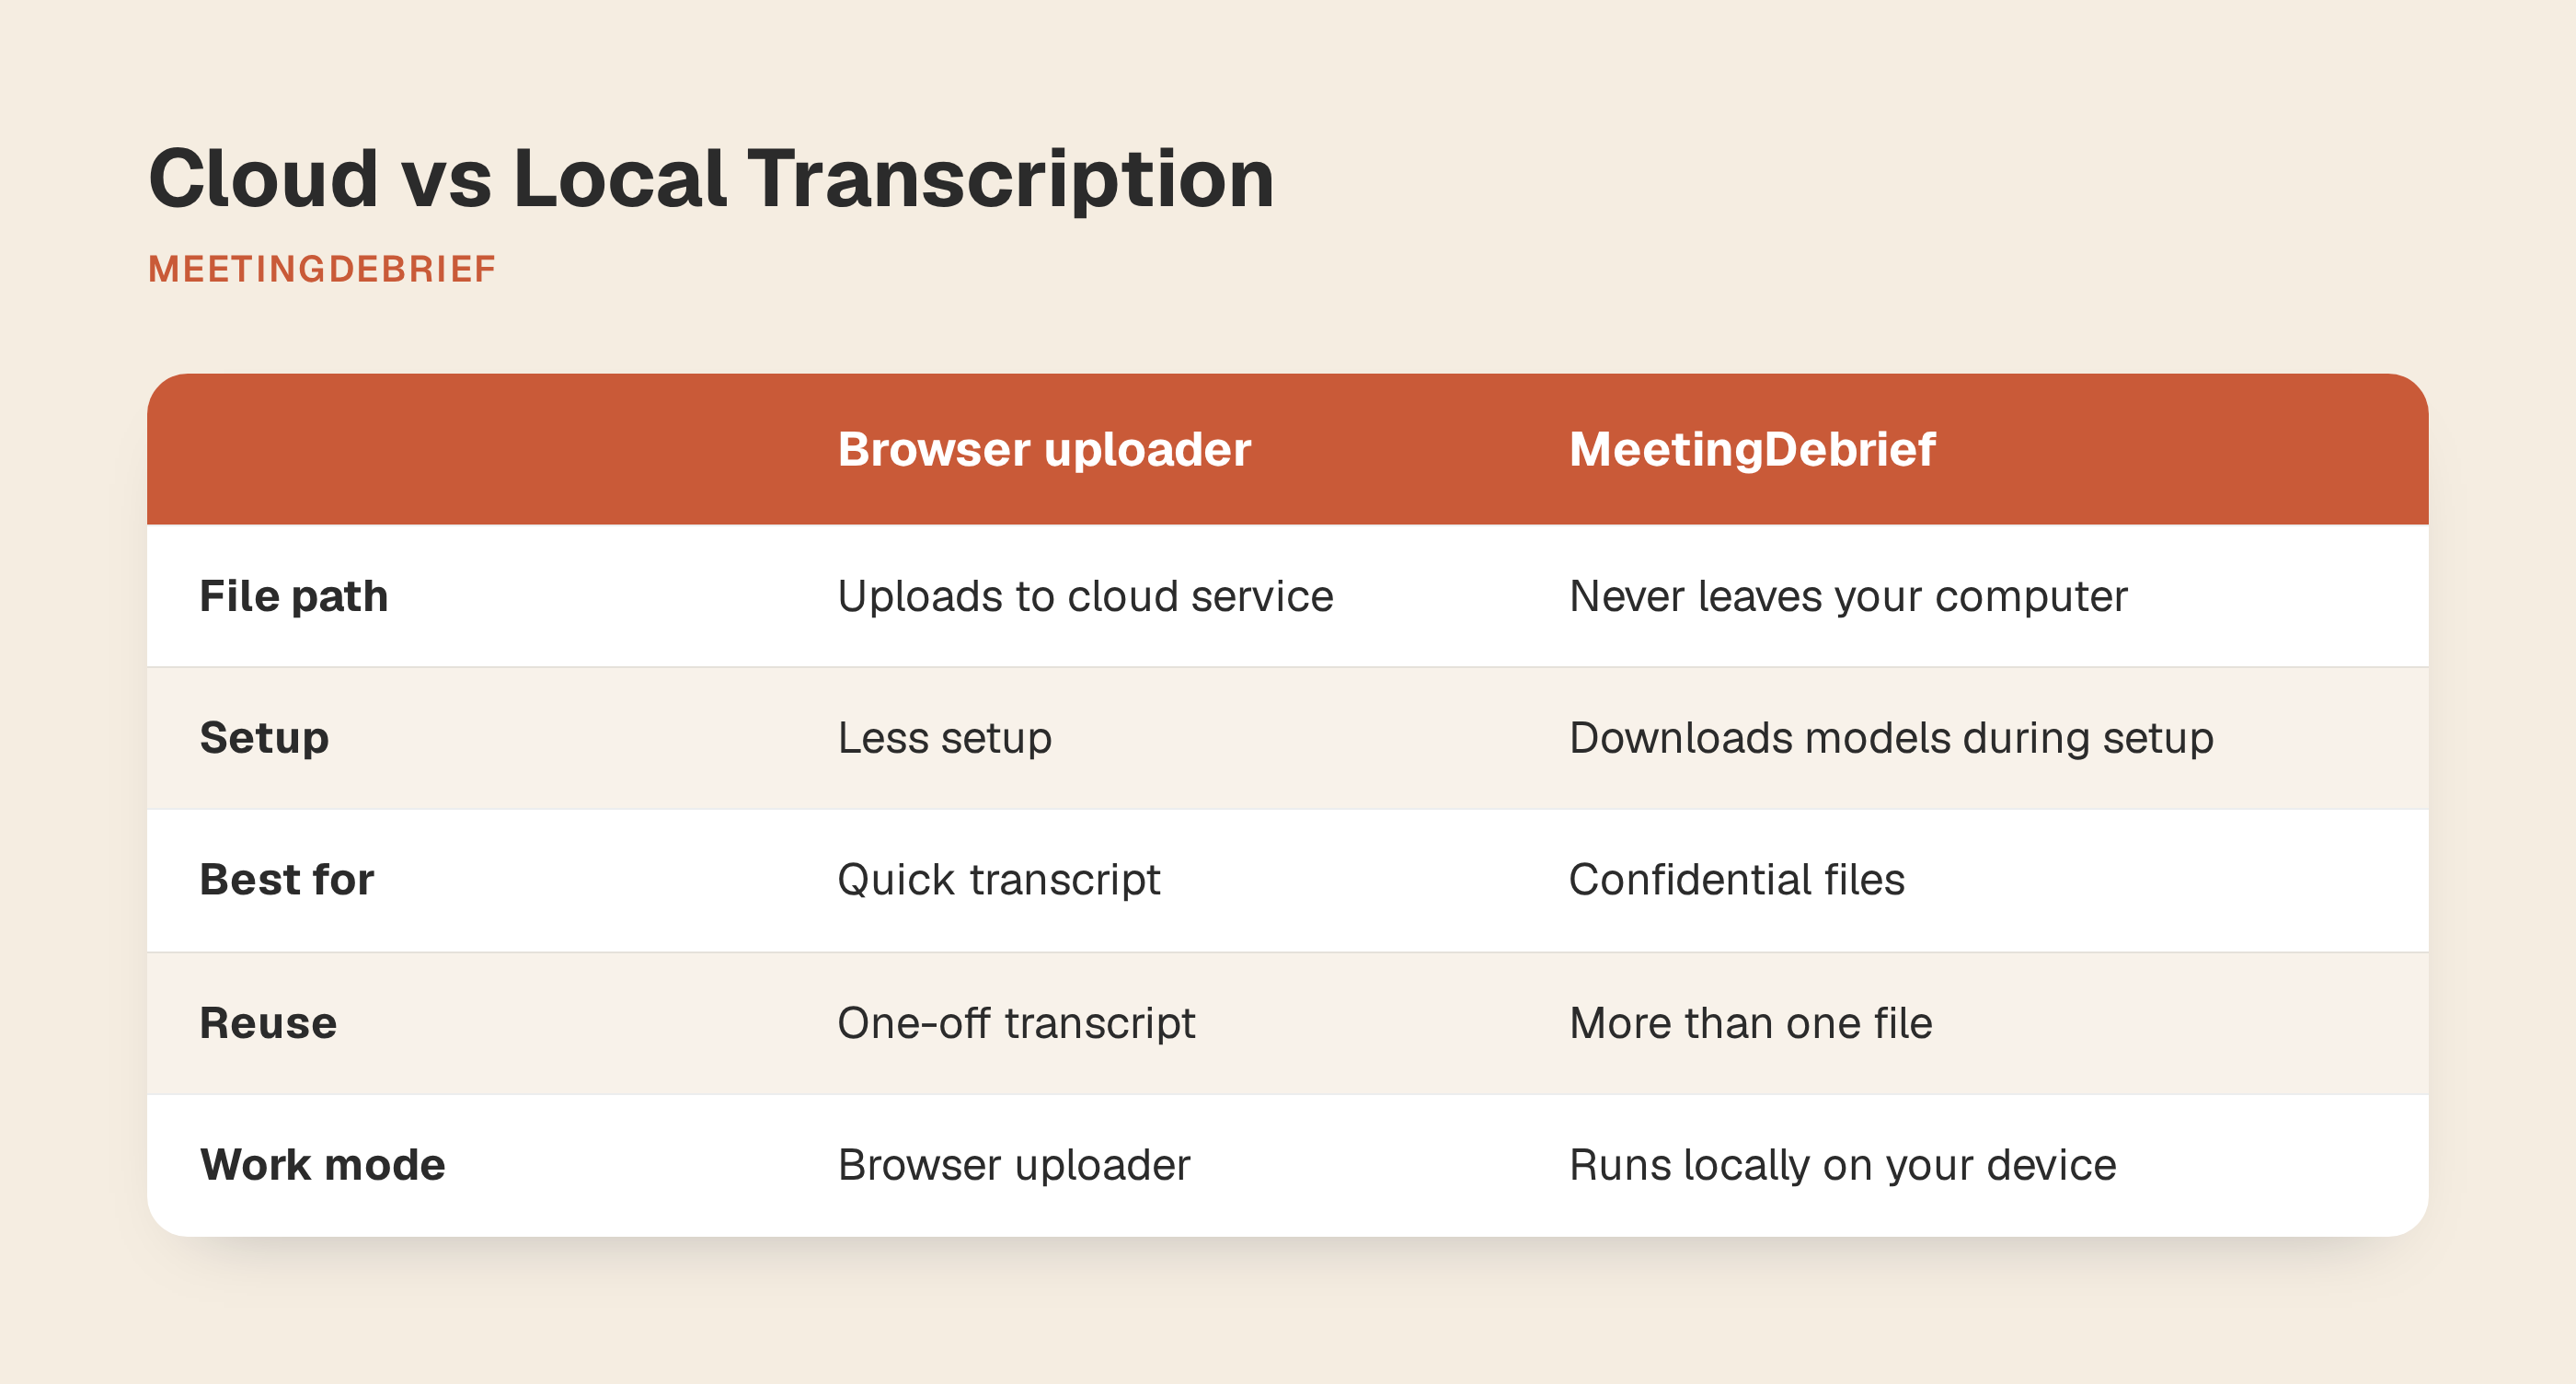
In MeetingDebrief, click Upload audio file next to Start Recording in the sidebar, then choose your file. The app accepts WAV, MP3, M4A, OGG, FLAC, MP4, and AAC, which covers most recorder exports, phone recordings, and audio pulled from video.
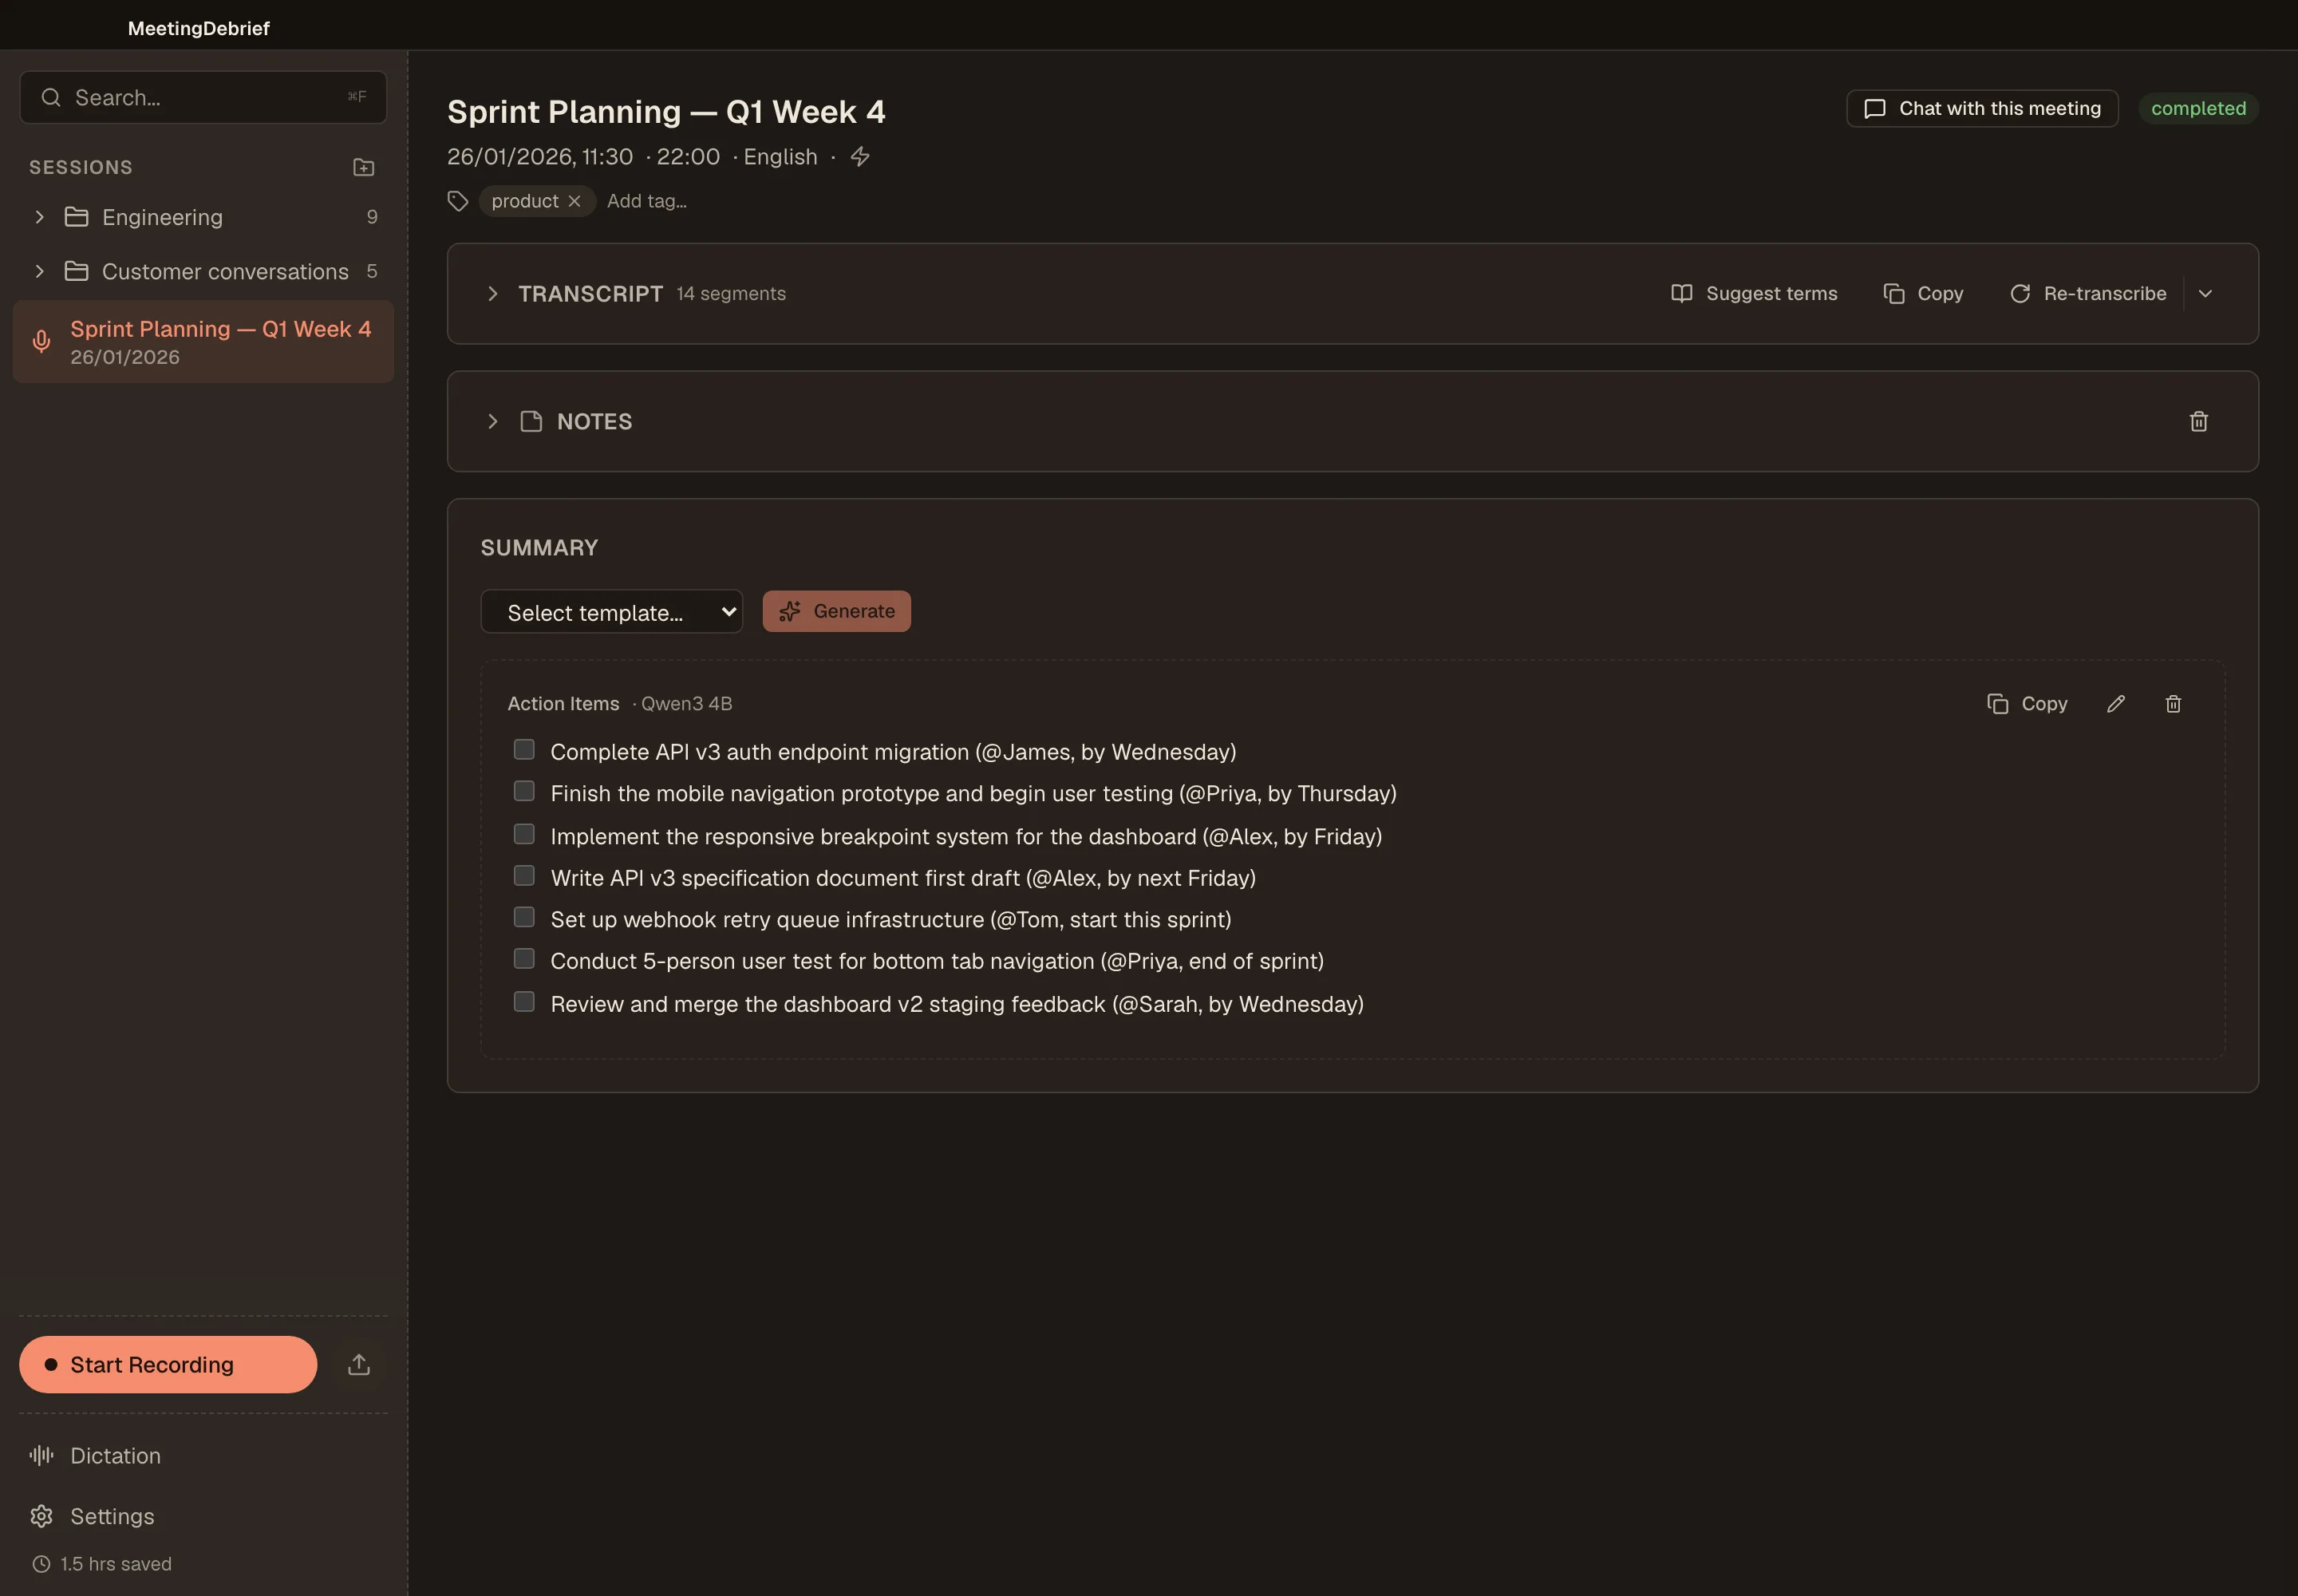
After you pick the file, MeetingDebrief converts it and creates a new session automatically. That gives you a session you can come back to for review, playback, correction, and export instead of a one-off conversion.
If Settings → General → Auto-transcribe after recording is on, transcription starts as soon as the import finishes. If that setting is off, the file still imports into its own session, and you can start the job there by clicking Transcribe. That is useful when you want to import several recordings first and choose which ones to process.
Choose Parakeet or Whisper before you trust the first pass
For most recordings, start with Parakeet TDT v3. It is the recommended local transcription engine in MeetingDebrief and covers 25 languages. If your recording is in a language outside that set, switch to multilingual Whisper, which covers 99+ languages. A practical rule works well: use Parakeet unless you need the extra language coverage, then move to Whisper.
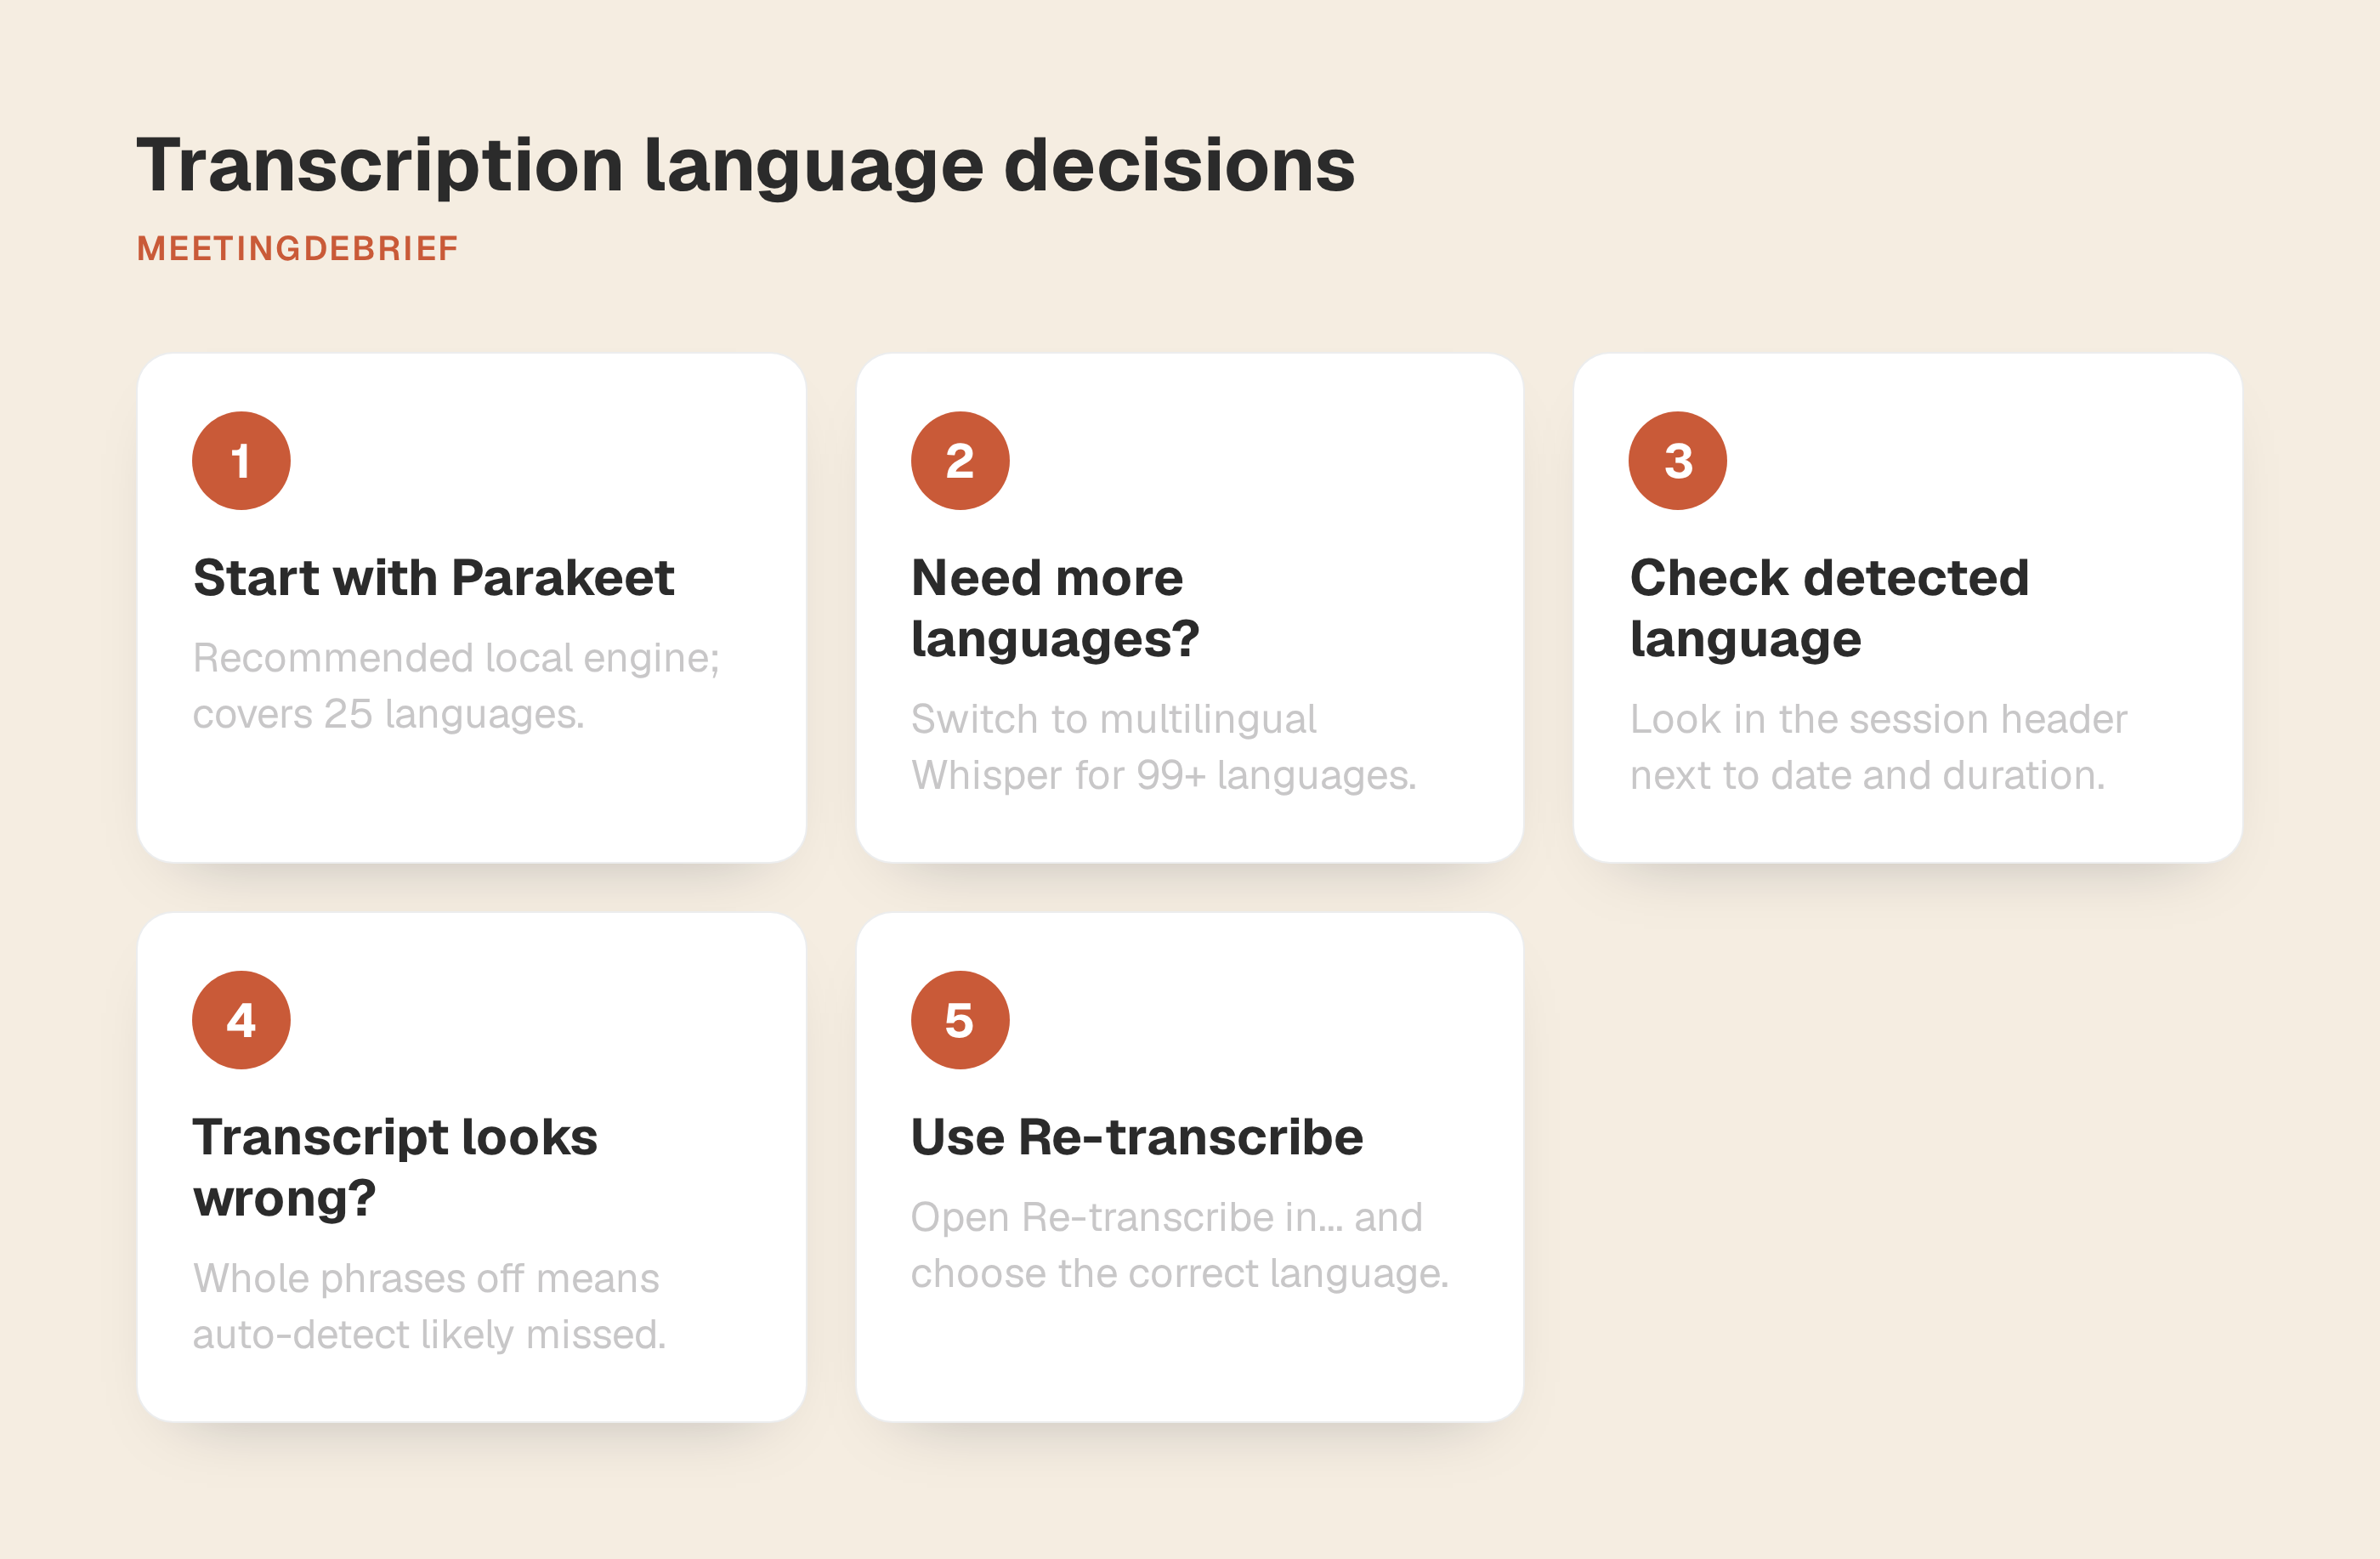
Language detection is automatic, so you do not need to choose a language before every transcript. After transcription runs, MeetingDebrief shows the detected language in the session header next to the date and duration. Check that first if the transcript looks systematically wrong, where whole phrases are off rather than just a few names.
When auto-detect gets it wrong, do not clean up the damage line by line. Use Re-transcribe and force the correct language instead. The caret on Re-transcribe opens Re-transcribe in..., where you can choose a language or go back to Auto-detect later. Re-running with the right language is usually faster than repairing a transcript built on the wrong assumption.
Set realistic speed expectations on your machine
On a machine with supported GPU acceleration, a typical 1-hour recording transcribes in about 1 to 2 minutes. Without a supported GPU, expect roughly 5 to 10 minutes, depending on your hardware and the model you chose.
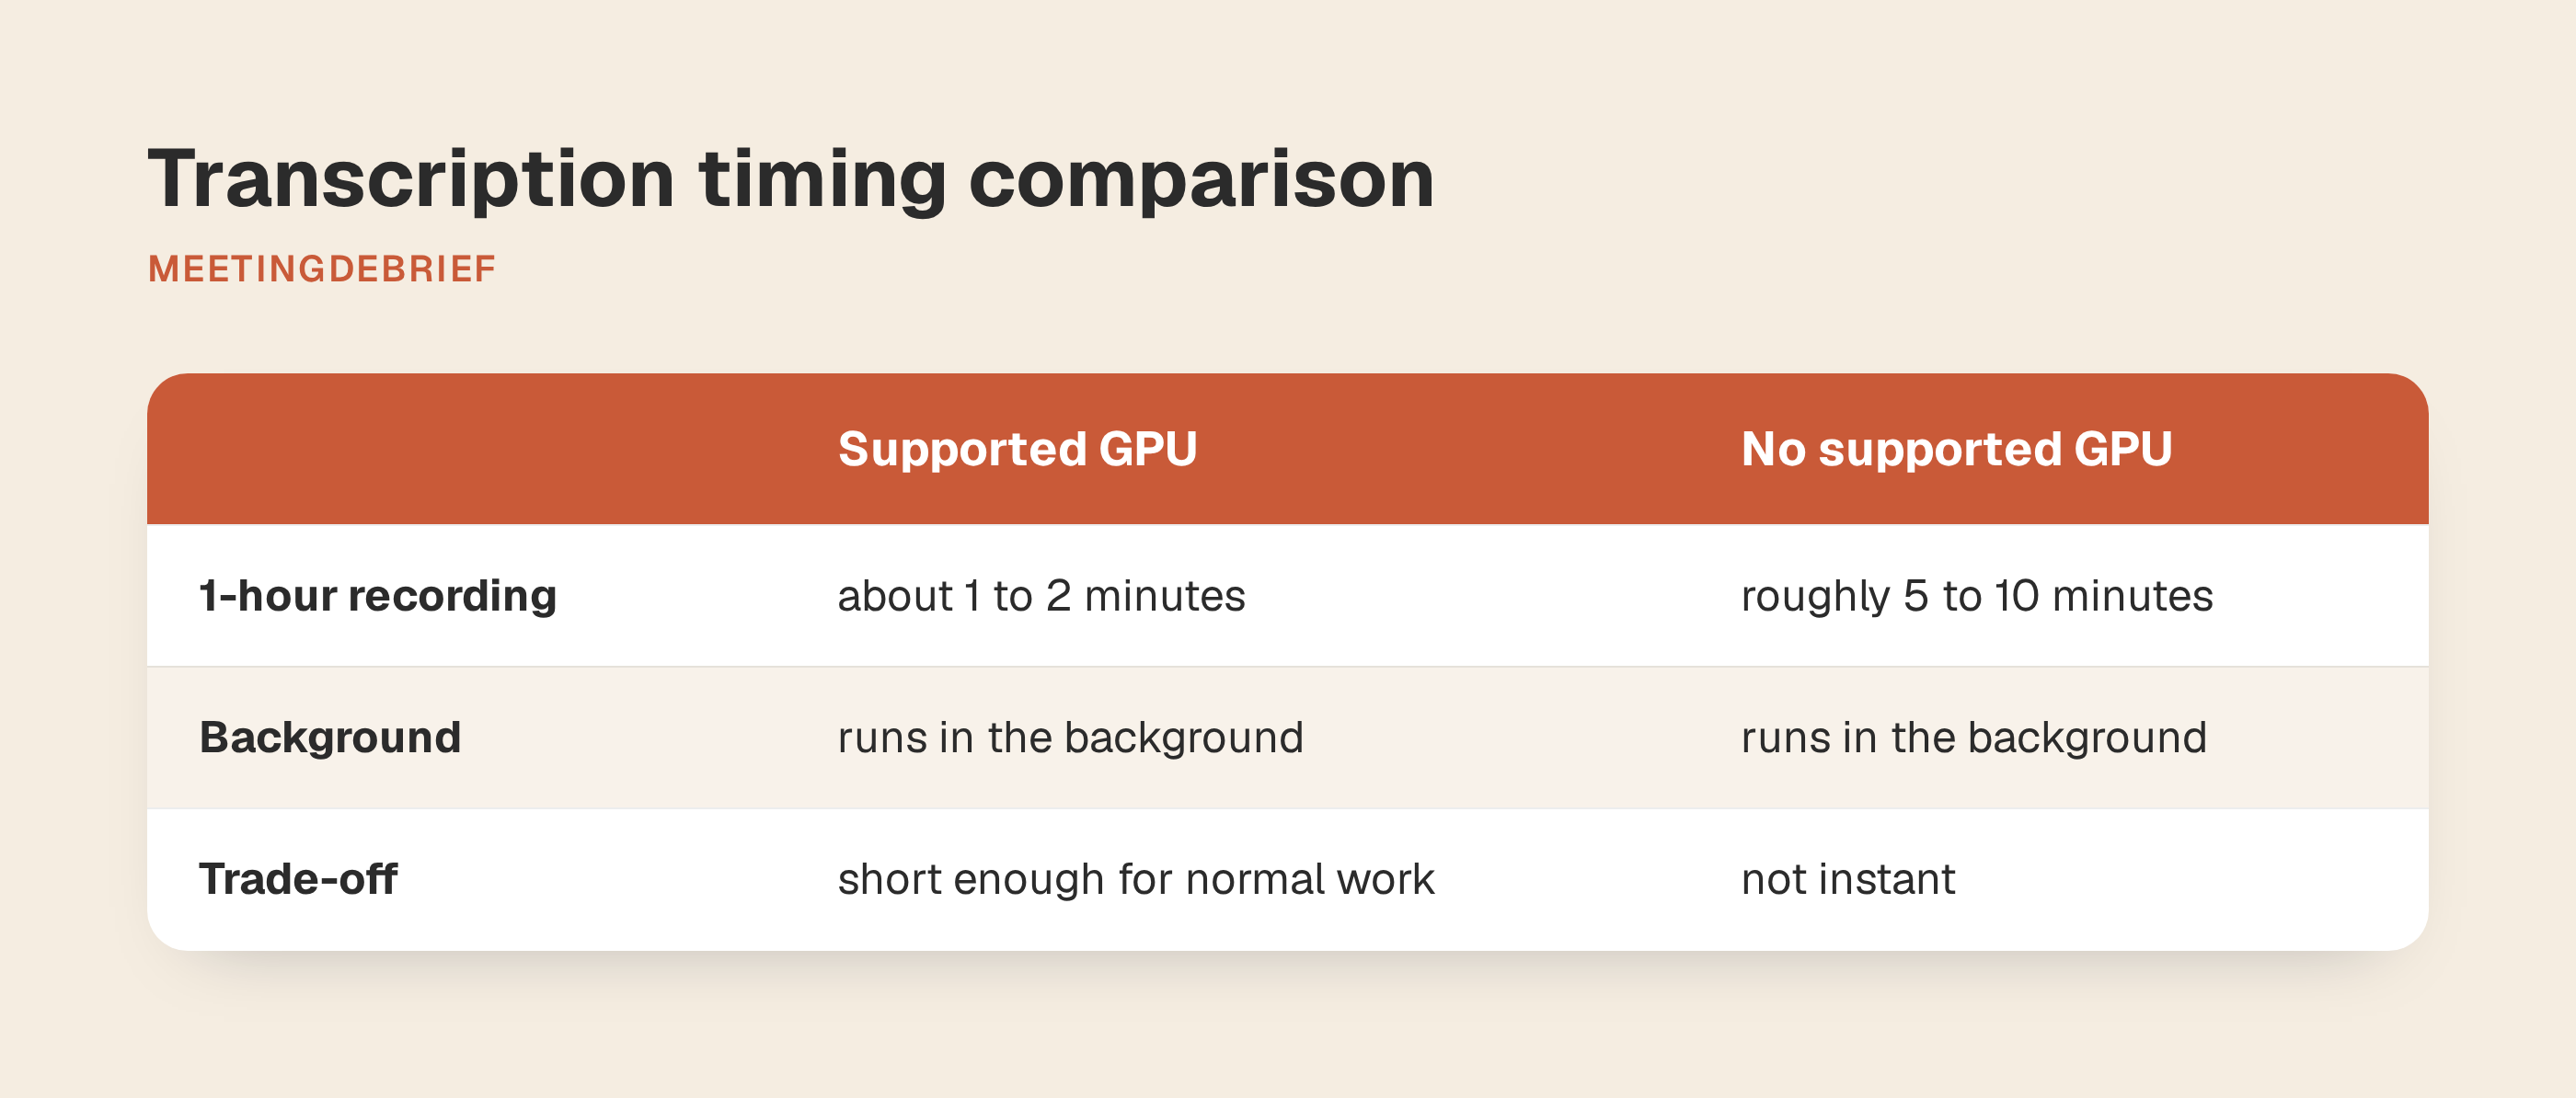
That is the trade-off with local transcription. It is not instant, but it is short enough to fit normal work. MeetingDebrief runs transcription in the background, so you can import the file, let it process, and keep working in other apps while the text finishes.
Clean the transcript without starting over
The first pass is usually good enough to edit, which means cleanup should happen inside the transcript, not in a separate document. Start by checking the spots most likely to be wrong: overlapping speakers, crosstalk, muffled sections, and any line with names, acronyms, or numbers. Verify those first, then do cosmetic fixes. In MeetingDebrief, hover any transcript line and click the pencil, Edit line, to fix that line in place. Use that for isolated mistakes such as a wrong number, a missed surname, or a sentence that lost punctuation. If the problem is overlapping speakers, crosstalk, a distant microphone, or heavily compressed phone audio, re-listen first and consider re-transcribing before you start correcting lines one by one.
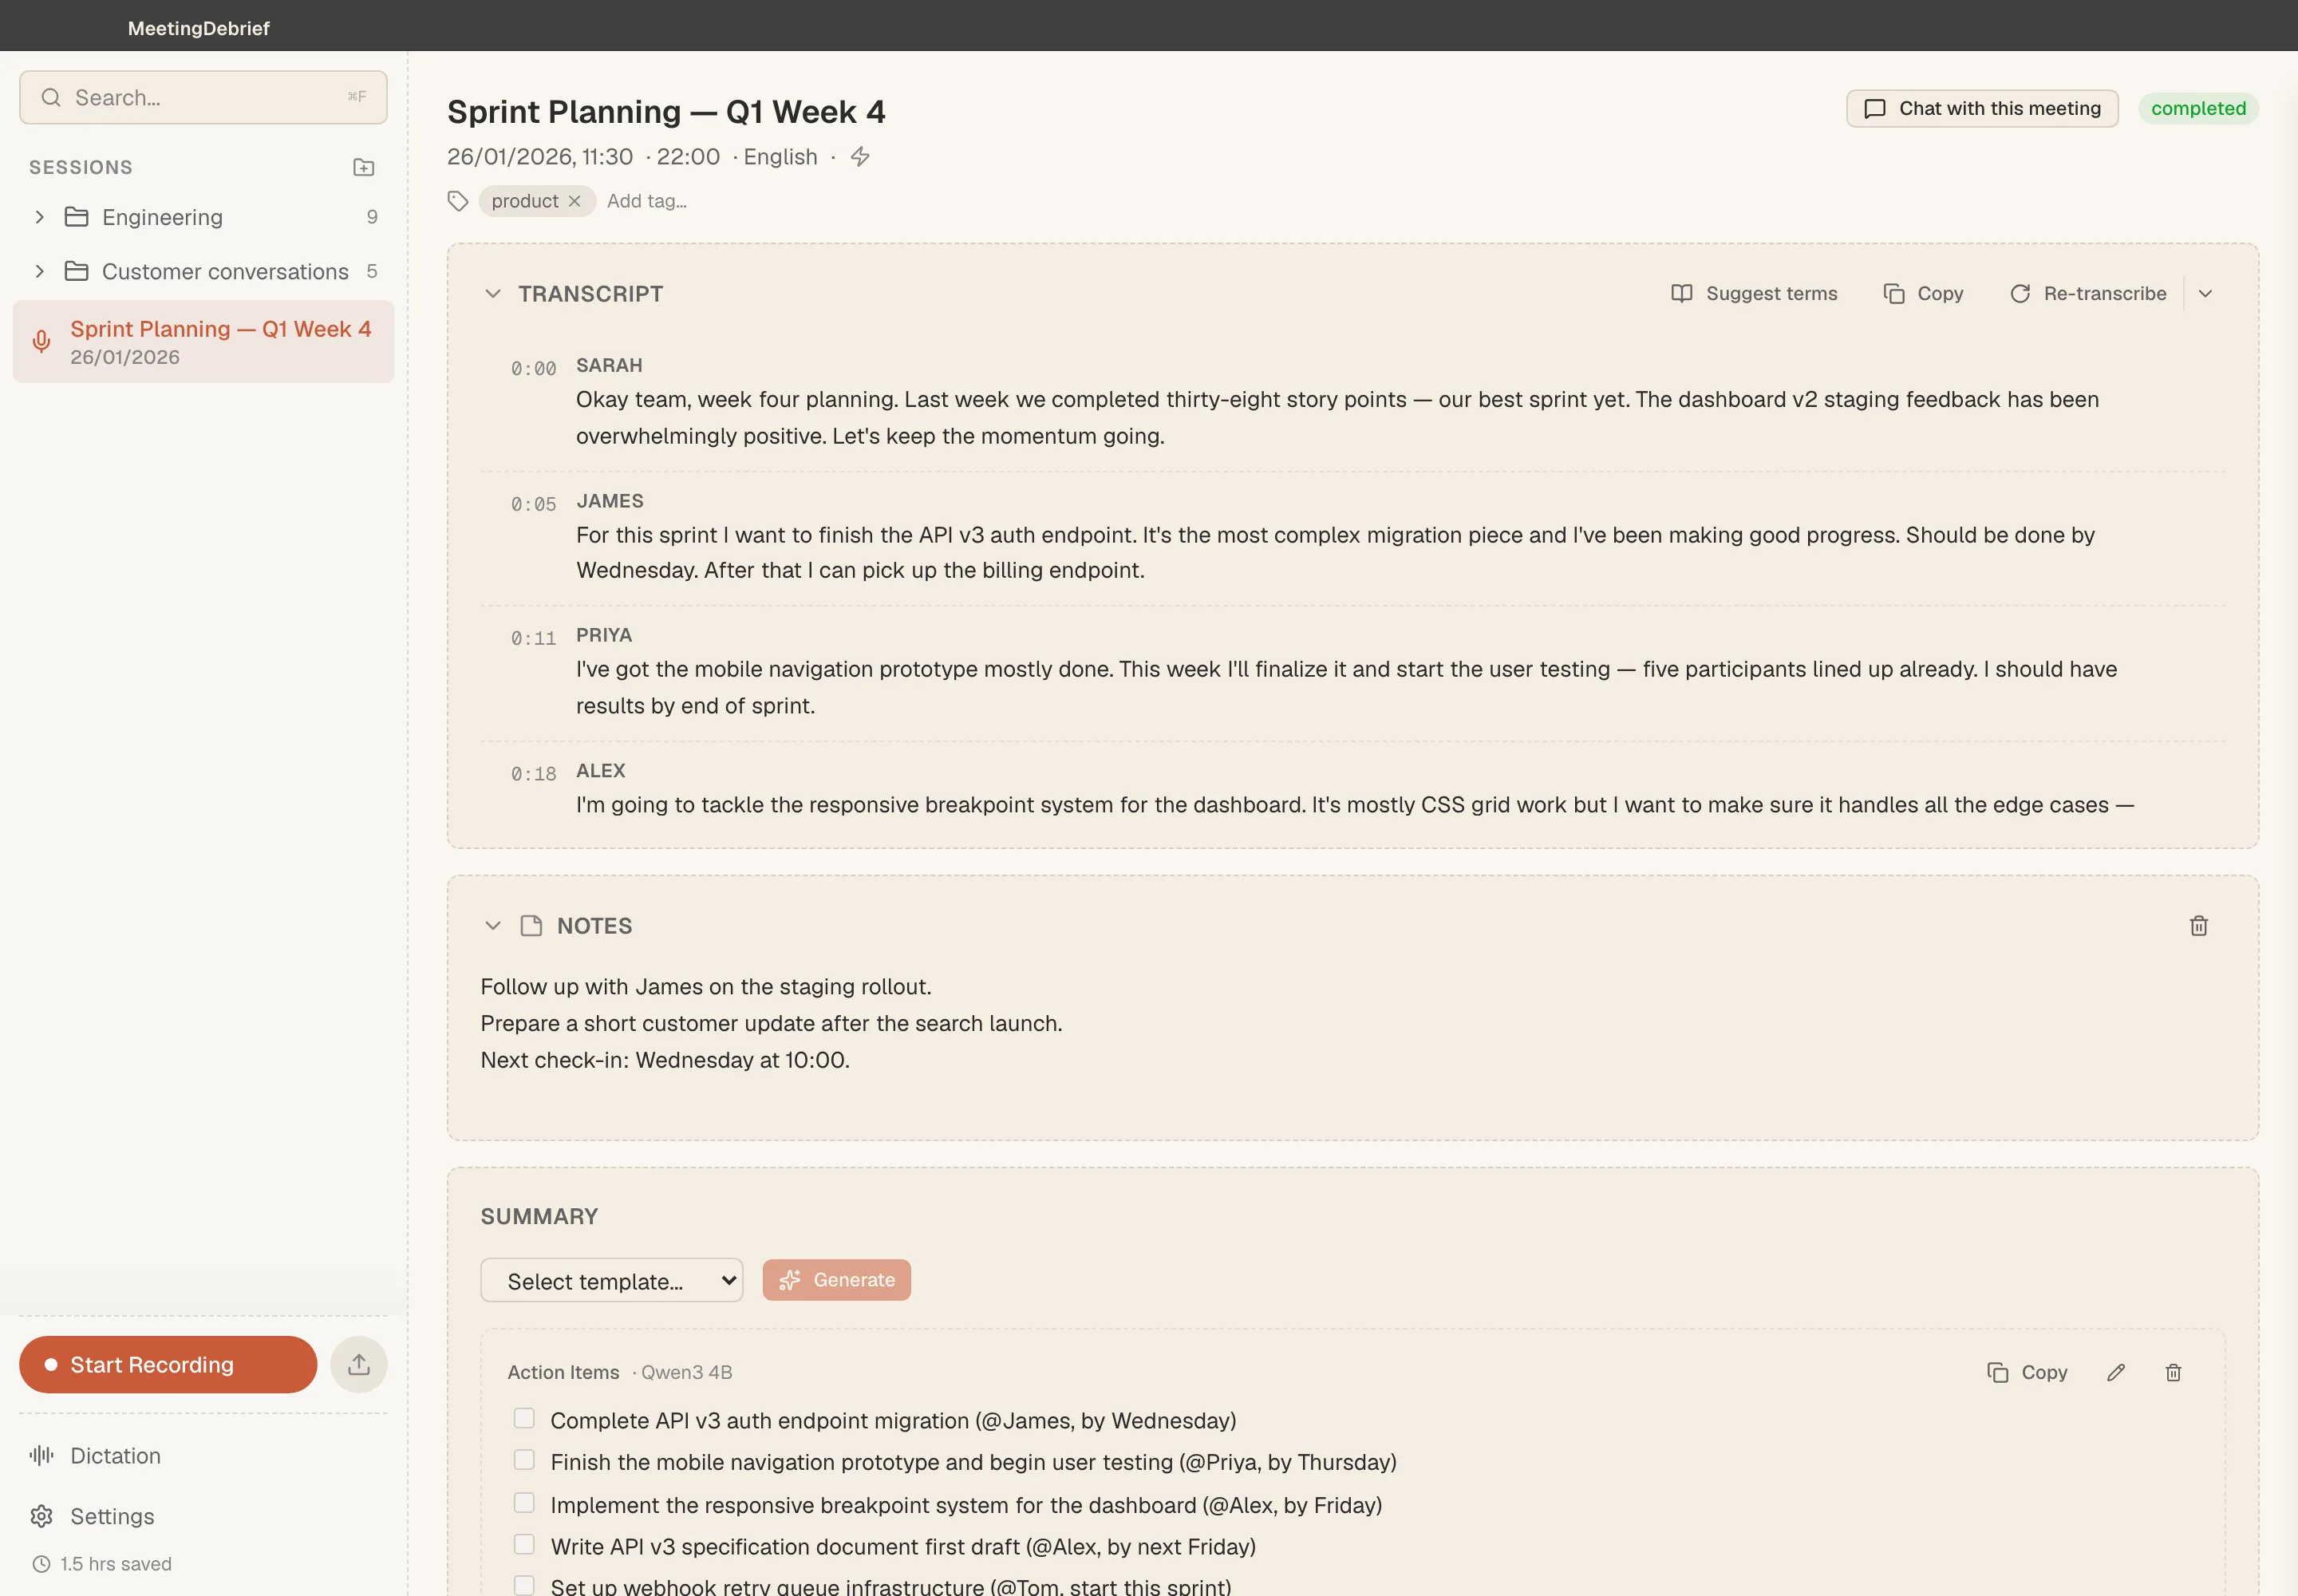
After a small one-word fix, watch for the Remember prompt. If the app asks whether it should always fix one form to another, say yes when the mistake is likely to recur. That saves the misheard form as a vocabulary alias, so you do not keep correcting the same company name, acronym, or product term.
For terms you already know will cause trouble, add them in Settings → Vocabulary before or after transcription. Vocabulary lets you store the correct term, its common mishearings, and a short explanation that helps summaries and chat interpret it later. Those corrections are not trapped in one session. Transcript edits are picked up by search and written through to the Markdown mirror, so the cleaned version becomes the one you keep working from.
Verify quotes and move the transcript where you need it
If you plan to quote, bill against, publish, or send the transcript back to a client, check the audio before you trust the text. In MeetingDebrief, clicking a transcript timestamp jumps playback to that moment, and the app highlights the segment currently being spoken while the audio plays. That quote-checking workflow only works while the session still has audio. If Settings → General → Keep audio files is off, playback will not be available after transcription finishes. Leave it on if you want to verify quotes later. That makes quote checking fast because you can confirm exact wording instead of hunting through a long transcript and guessing where a line came from.
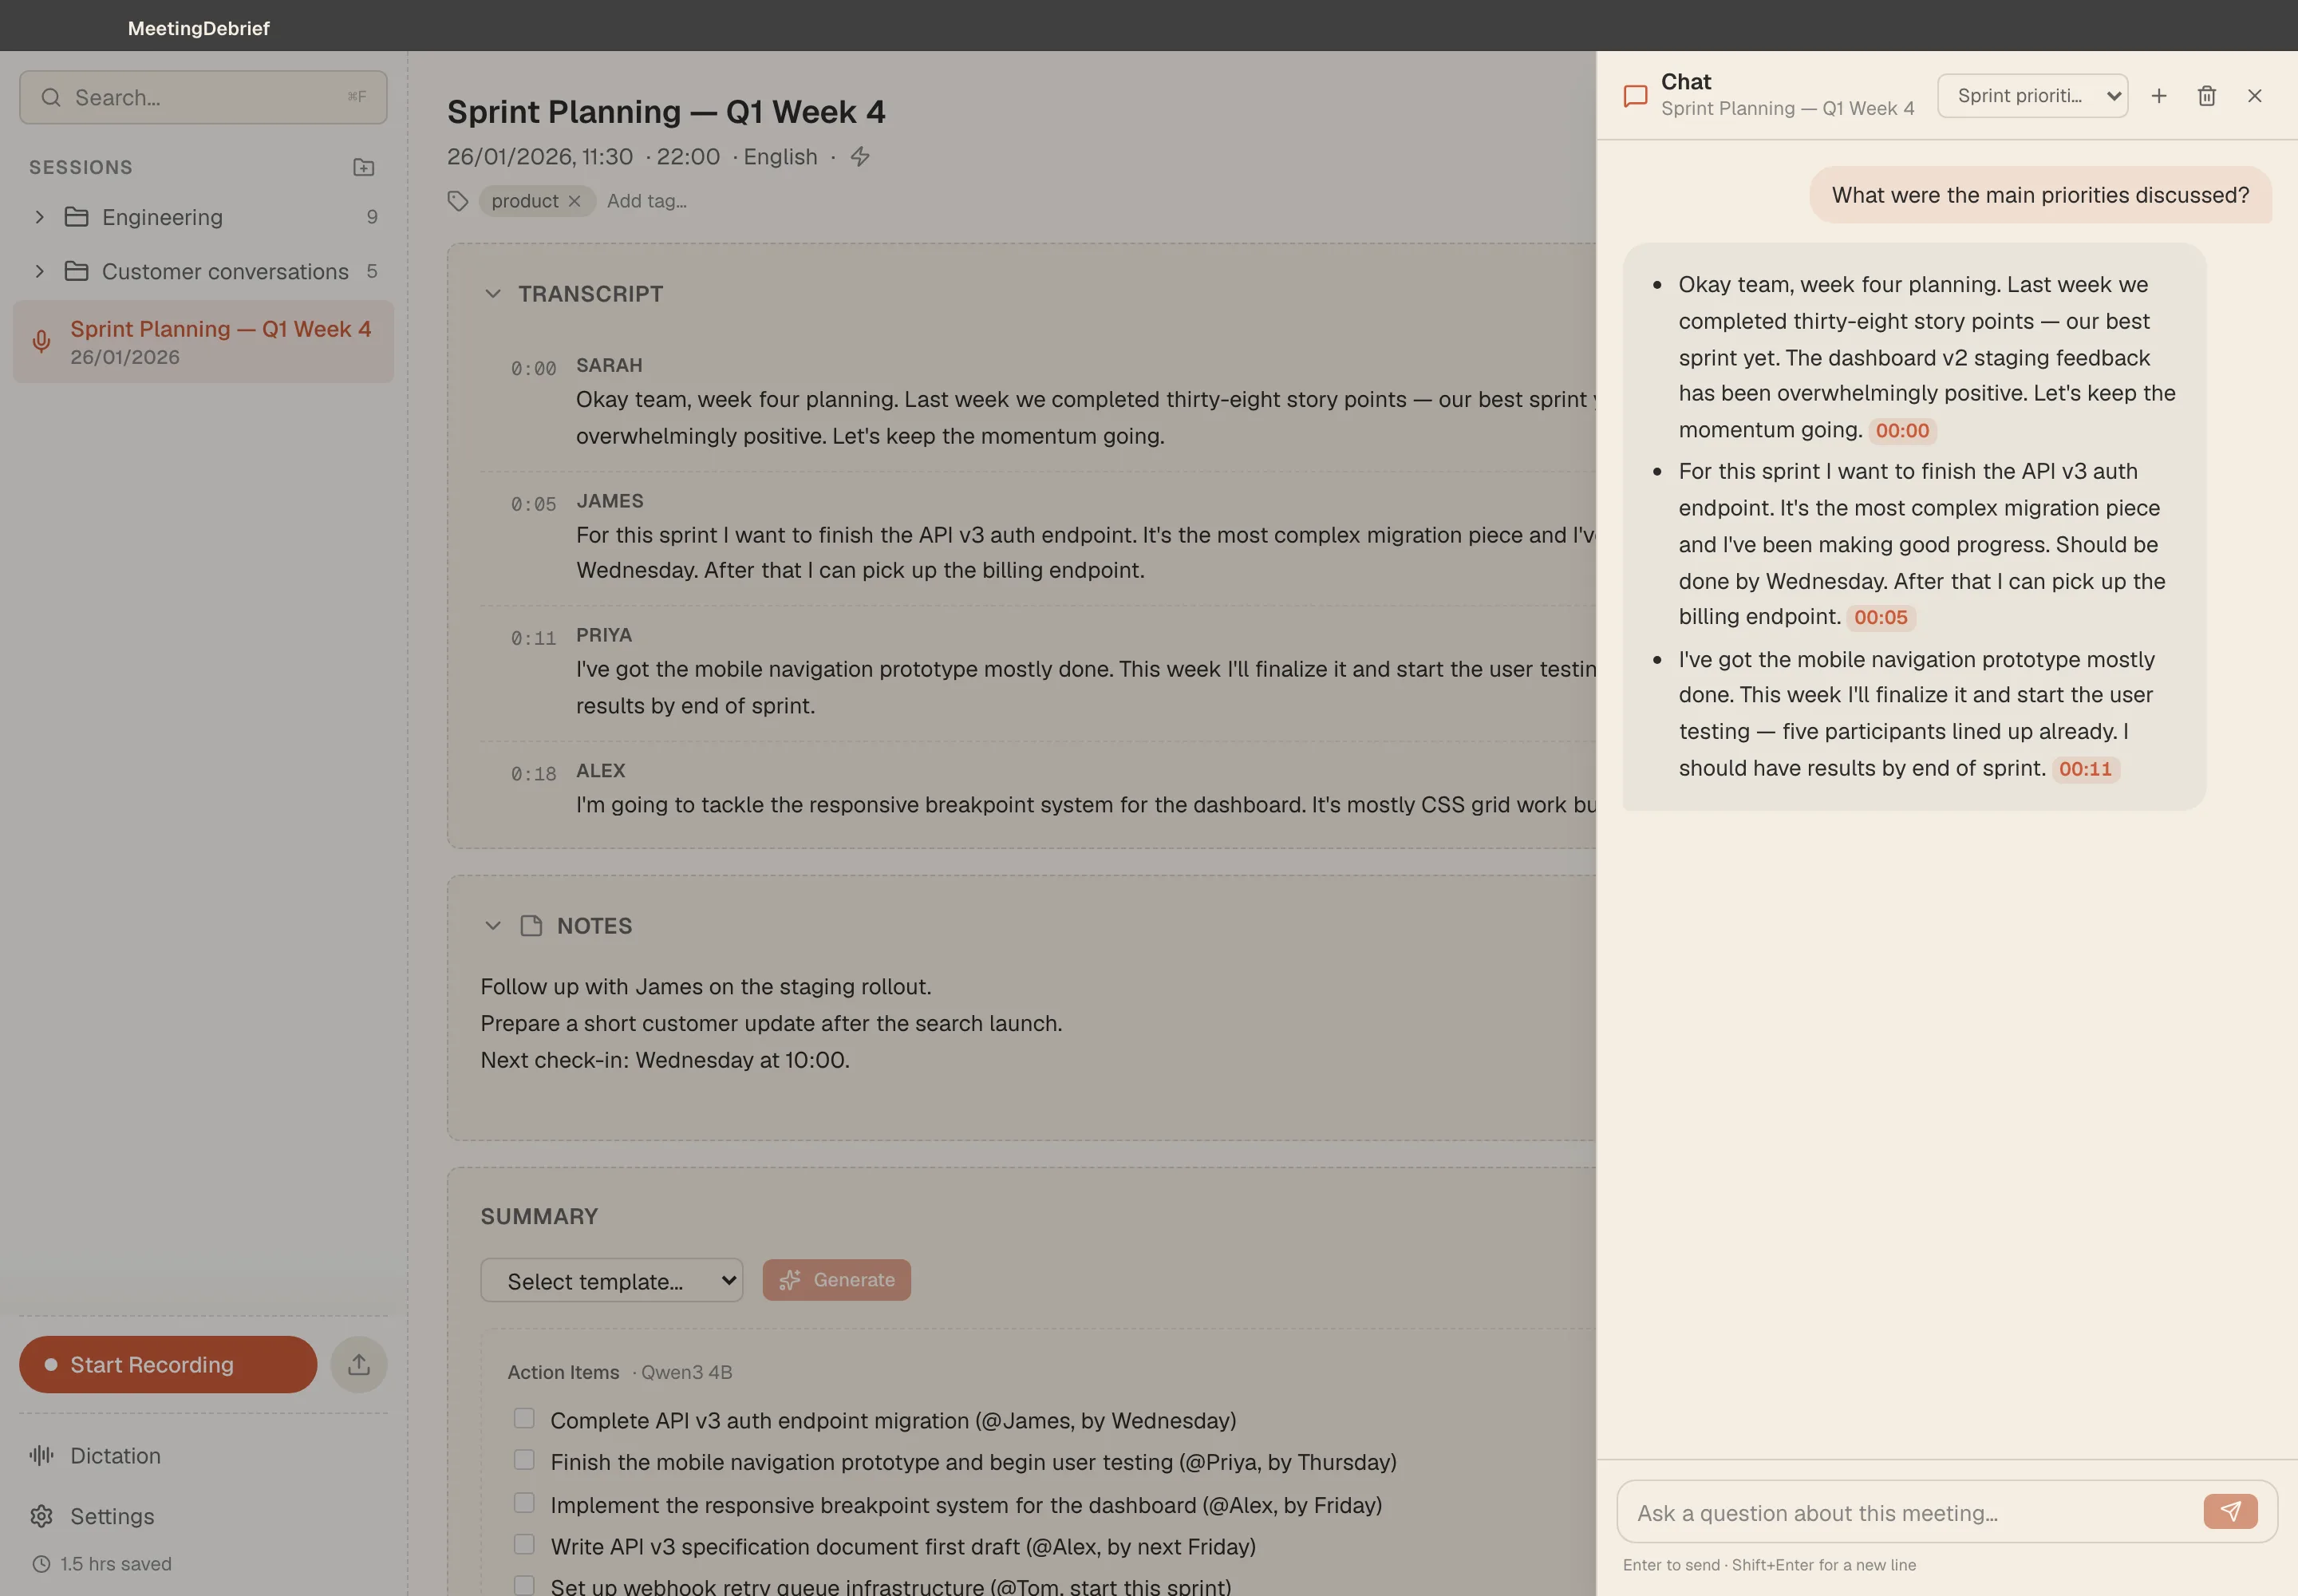
Once a line checks out, you have two practical ways to move it out. In the session view, use Copy in the transcript header to put the full transcript on your clipboard with timestamps and speaker labels, one segment per line in the form [m:ss] Speaker: text. If you want a file you can keep, edit later, or archive, use the Session Mirror on disk. MeetingDebrief writes transcripts and summaries to Markdown automatically, and you can open that folder from Settings → About → Open Sessions.
Start with one recording you already know needs checking, not your entire backlog. A past interview, a client call, or a lecture with a few tricky names is enough to show whether the detected language is right, which terms belong in Vocabulary, and how much review your audio quality usually needs.
If you want to try that workflow locally, download MeetingDebrief and start the 7-day free trial. Every feature is included, and it starts with no account and no credit card.